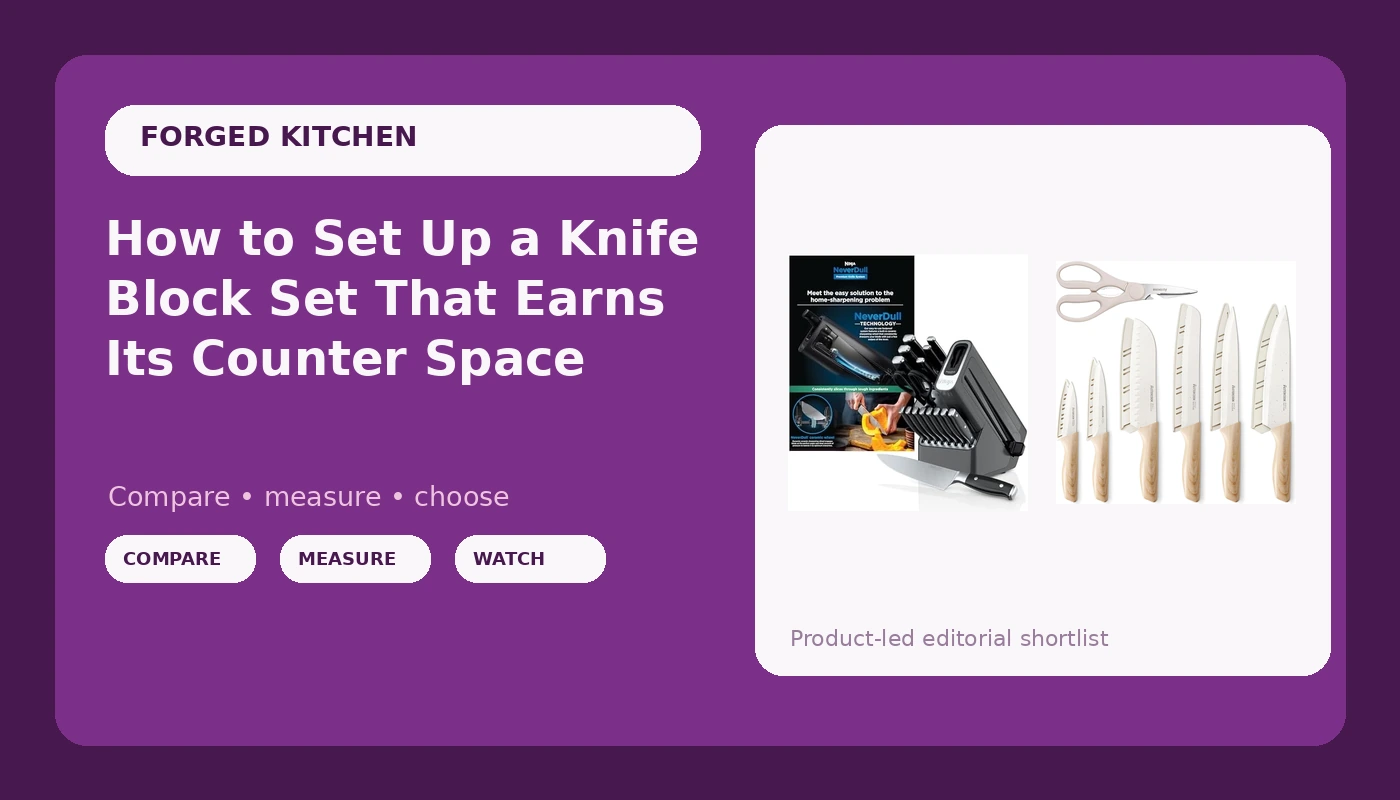
Setting up a knife set looks like a five minute job. Open the box, slide the knives into the block, push the block against the backsplash, get on with dinner. That is also how a kitchen ends up with a beautiful block full of dull blades and one paring knife doing all the work.
I have cooked professionally for 16 years, six of them as a line cook in fine dining and four running a butcher shop, and I have sharpened thousands of blades in that time. The routine below is what I would walk a home cook through on the day a new set lands on the counter, because the decisions you make in the first hour are the ones that decide whether that set is still cutting well next fall.
Why you should trust me
I am a chef in Bend, Oregon, and most of my working life has been spent around knives: sharpening them, repairing them, and watching which ones a busy line actually reaches for at 7 p.m. on a Saturday.
A knife set is 80 percent chef's knife. The other pieces are garnish. That is not a slogan, it is what the wear pattern on every set I have owned looks like after a year. I keep a 1,000 grit stone on the counter and I use it, and every knife that passes through my hands gets the same morning test: does it bite into a tomato without bruising the skin? If it slides, the knife is not sharp, no matter what the box said.
So this guide is not about which set is prettiest in a photograph. It is about setup, storage, and the maintenance habit that keeps a set working.
How I judge a set before it earns counter space
Four questions, in this order.
Is it full tang? The steel should run the full length of the handle, with scales pinned or riveted over it. A blade that stops at the handle and bolts into a hollow shell is a knife that will fail you mid service. This is the single non-negotiable.
Does the handle survive 200 cuts? Not five minutes of handling in a store. Two hundred cuts. A handle that feels fine for a photo can leave a hot spot in your palm by the time you have broken down a case of onions, and a hot spot turns into a sloppy grip, and a sloppy grip turns into a cut.
Can I sharpen it? A thick bolster between the blade and the handle looks great and fights you on a stone, because the edge never reaches the full length of the blade. A knife you cannot sharpen is a disposable knife, no matter what it cost.
What is actually in the box? Count the steak knives. Count the bread knife. If half the pieces are table knives and one is a slicer you will use twice a year, you are paying for a block and a set of steak knives, and the chef's knife is the afterthought.
Here is the thing I tell every home cook: you need one great chef's knife, one petty, and a sharpening habit. Everything past that is preference. A set is a convenient way to buy all of it at once and get storage thrown in.
The two sets I would point a home cook toward
Two different jobs here. One is a starter set that gets a whole kitchen cutting without much outlay, and one is a block that keeps its own maintenance tool in the same object, which matters more than people think.
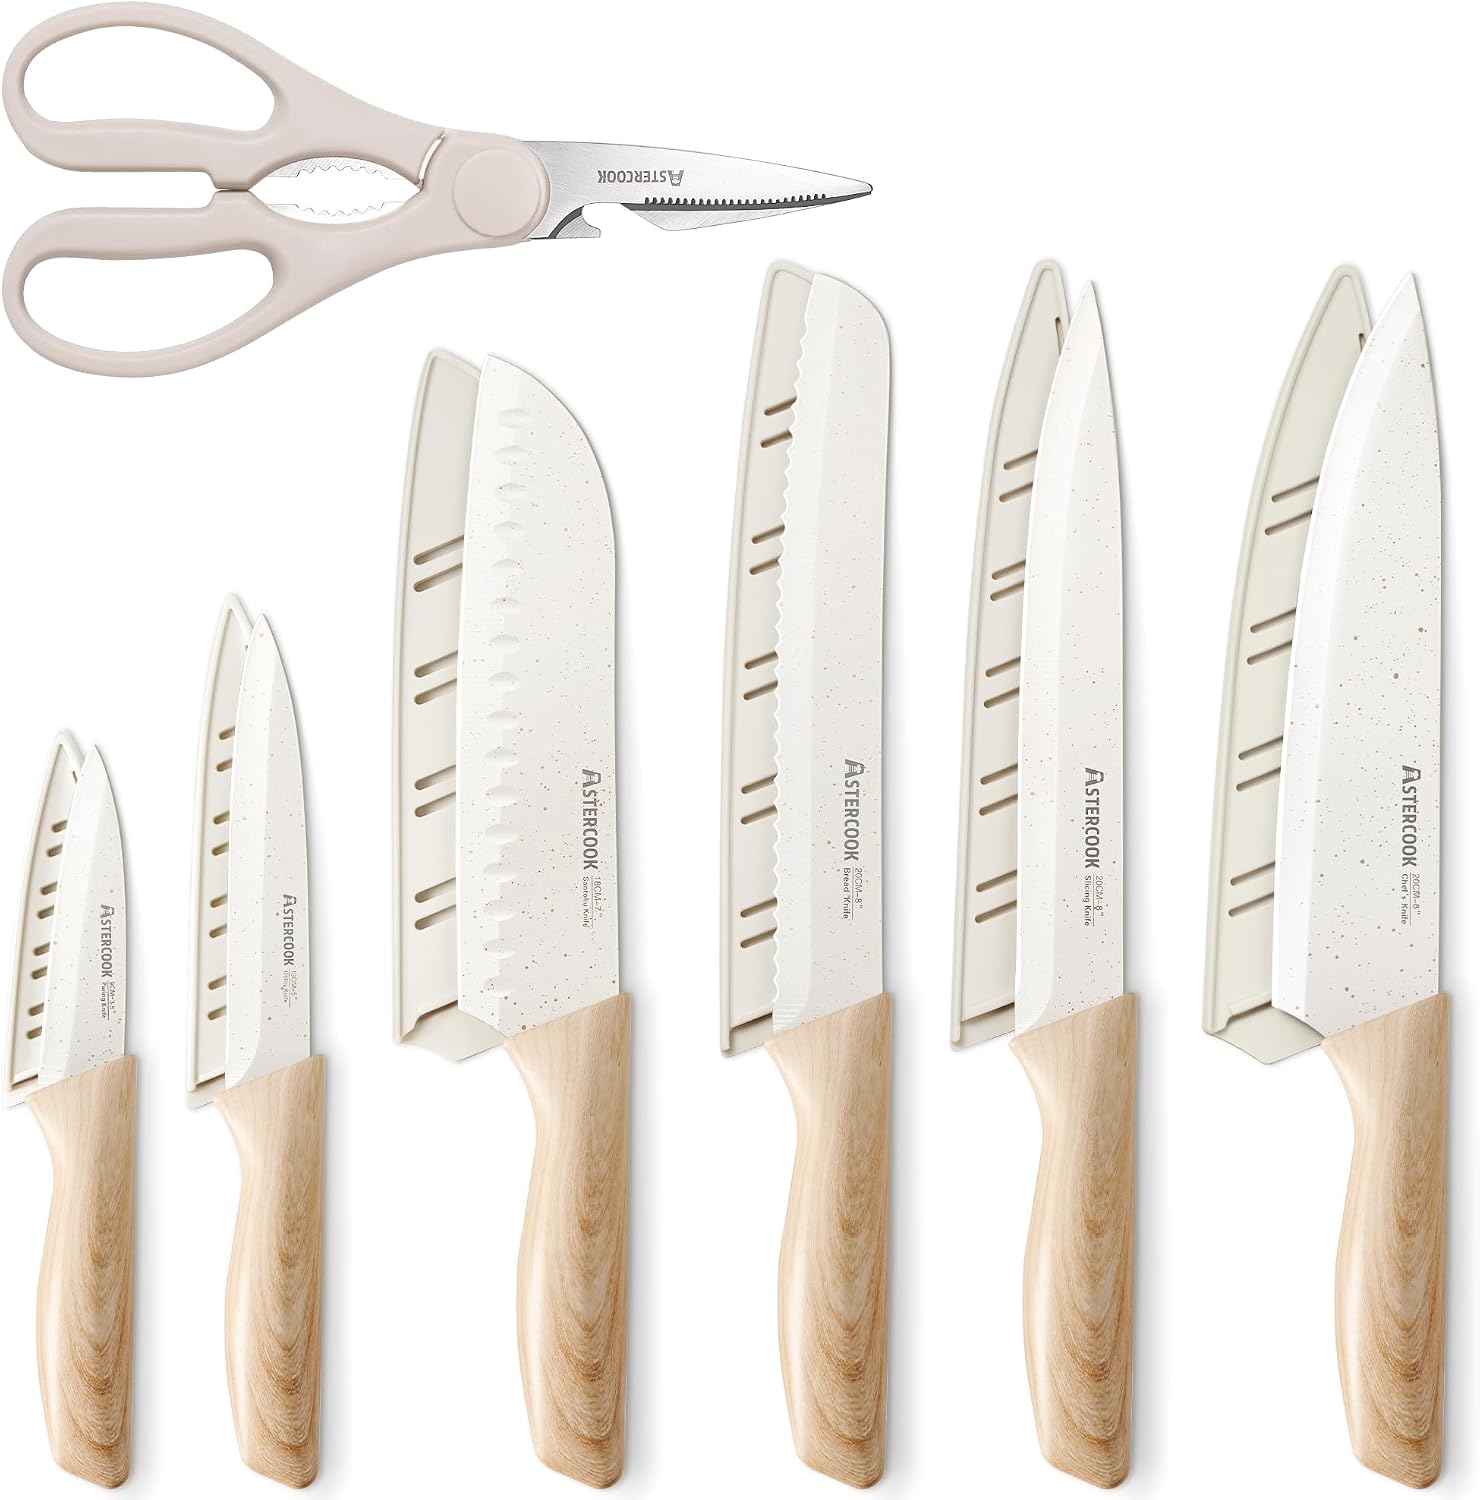
Budget pick: Astercook Knife Set, 13 Pieces Kitchen Knives Set with Ceramic Coating, Stainless Steel Chef Knife Sets with 6 Blade Guards, Dishwasher Safe Knives with Wood Grain Handle, Elegant White
 Visit on Amazon →
This is the set I point at when someone is outfitting a first apartment, a rental, or a kitchen that has been running on two mismatched hand-me-down knives. Thirteen pieces, ceramic coated stainless steel, wood grain handles, and six blade guards. Check current Amazon price and you will understand why it lands in this slot.
The blade guards are the piece that matters most to me. Most starter sets assume you have counter space for a block, and most starter kitchens do not. Guards let you keep the three knives you actually use in a drawer without the edges knocking against each other, which is how cheap knives die young.
Two things to be honest about. The ceramic coating is about release and cleanup, not edge retention. It does not make the steel harder, and it does not keep the edge longer. It does mean food slides off and the knife wipes clean, which is a real convenience in a kitchen where someone else is doing the dishes. Second, dishwasher safe means the knife survives the dishwasher, not that the dishwasher is good for it. Heat and detergent are hard on handles and edges. I would still wash these by hand and dry them immediately.
Flaws but not dealbreakers: The coating can chip if you scrape the blade across a cutting board or stack the knives loose in a drawer. Use the guards, use a board you can actually cut on, and skip the scraping.
Anyone setting up a first kitchen, a rental, or a cabin who wants a full working set plus safe storage for the price of a couple of takeout dinners should start here.
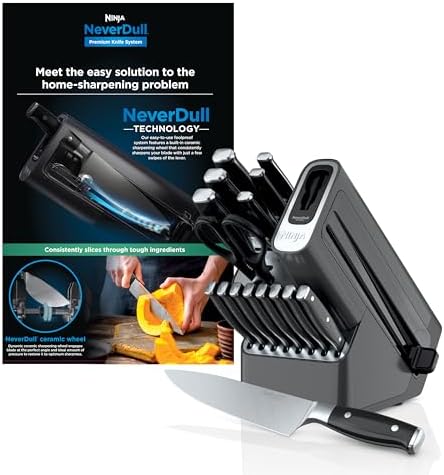
Our pick: Ninja® NeverDull™ 17-Pc Knife Block Set, Built-in Sharpener, Black, K32017
 Visit on Amazon →
This is the one I would buy for a household that cooks most nights and wants storage and maintenance handled by a single object sitting on the counter. Seventeen pieces in a block, with a built-in sharpener.
The built-in sharpener is the entire reason this set is here, and it is worth explaining why. Most people never sharpen their knives, and it is not laziness. It is that sharpening is a separate purchase, a separate skill, and a separate fifteen minutes, so it never happens. When the sharpener lives inside the block, the gap between noticing a dull knife and doing something about it shrinks to about ten seconds. That is the whole game. A dull knife is a confession, as an old butcher I worked for used to say, and the easiest way to avoid the confession is to make the fix effortless.
The caveat is real, though. A pull through sharpener, even a good one, is not a stone. It removes more metal, it leaves a coarser edge, and it will not give you the polished bite a 1,000 grit stone produces. Treat it as maintenance between real sharpenings, not as a replacement for them.
Flaws but not dealbreakers: A 17 piece set is a lot of steak knives. Count them before you buy, and be honest about how often those hit the table versus how often you reach for the chef's knife. Also, block storage demands discipline: knives go in dry, and the slots need cleaning, because a slot full of dust and food residue is a slot that scuffs your edges on the way in and out.
Anyone who wants one object on the counter that stores the knives and nudges them toward maintenance will get the most out of this.
The actual setup workflow
Step one: Unbox and sort into three piles. The knives you will use weekly, the knives you will use monthly, and the ones that exist to fill slots. Be honest. Most home kitchens run on a chef's knife, a paring knife, and a serrated knife for bread and tomatoes.
Step two: Wash everything before first use. New knives come with manufacturing oils and polishing residue on them. Warm water, a little dish soap, a soft sponge, dry immediately with a towel. Do not soak them in the sink while you do something else.
Step three: Pick the block's home before you pick anything else. Not beside the stove, where heat, steam, and grease settle on the blades. Not directly above or beside the dishwasher, which vents steam every cycle. Not in direct sun, which is unkind to wood and handles. The right spot is next to your cutting board, on the side of your body that holds the knife, so the return trip is one motion.
Step four: Check the chef's knife in your hand. Pinch grip, thumb and index finger on the blade just ahead of the handle. Does the handle fill your palm without forcing your wrist into an angle? Flex the blade and handle against each other. If there is movement there, send it back. That is a manufacturing defect, not a break-in period.
Step five: Set up your honing. A honing steel is a realignment tool, not a sharpener. It pushes a rolled edge back into line. Ten strokes per side, light pressure, before you start cooking or at the end of the night. If you only do one maintenance thing, do this one, because it delays the day you actually need to sharpen.
Step six: Put a real sharpening date on the calendar. For a home cook, once or twice a year is normal, more if you cook daily. Stone or guided sharpener, your call. If your set has a built-in sharpener, use it sparingly and understand what it is doing.
Step seven: Set the board rule. End grain wood, edge grain wood, or a quality plastic board. No glass, no ceramic, no stone countertops, no plates. Every one of those is a surface that rolls an edge in a single meal.
Step eight: Set the wash and dry rule. Hand wash, dry immediately, return to the block dry. Wet knives in a block are how you get rust spots and a mildewed slot. If you are using blade guards, the knife goes in dry and the guard goes on straight.
Step nine: Reassign the extra pieces. Steak knives belong near the table, not in the prep rotation. The bread knife earns its place if it actually slices bread instead of crushing it. Everything else gets a job or gets moved out of the way.
Keeping it sharp after week one
The set does not stay sharp because of what you bought. It stays sharp because of what you do on Tuesday.
Hone before you cook. Sharpen on a schedule instead of waiting for frustration. Wash and dry the same night. Store knives so the edge touches nothing hard. Run the morning test: a tomato, a ripe one, and see whether the blade bites or slides. When it slides, you know what to do, and it should take you ten seconds to start doing it.
What I would skip
Skip any large set where four or more of the pieces are steak knives. You are buying a block and a table service, and the knife you cook with is the cheapest thing in the box.
Skip bolsterless knives marketed as professional. A thin stamped blade with no collar is a knife you will fight every time it needs an edge.
Skip blocks that grip the blade on the way in. If you can feel the slot scraping the side of the blade, it is dulling the knife every time you put it away.
And skip the phrase "stays sharp forever." Nothing does. Sharpness is a maintenance habit, not a purchase.
What this all costs
The set is the cheap part. The stone, the honing steel, and the five minutes a week are what decide whether that chef's knife is still working in five years or living at the back of a drawer.
Check current Amazon price on both sets before you decide, and then do the math that actually matters: a set that gets honed and sharpened regularly costs you almost nothing per meal, while a set that gets thrown in the dishwasher and jammed into a block wet costs you the price of the set again every couple of years.
Buy the set that fits your kitchen, wash it, dry it, hone it, sharpen it, and put it back where it belongs. That is the whole job, and it is the difference between owning knives and cooking with them.