Most people who want a sharper knife buy the wrong thing first. They pick up a pull-through gadget, drag the blade through it a dozen times, and end up with an edge that feels grabby rather than clean. What they skipped is the foundation: a knife sharpening stone set, a way to keep that stone flat, and a routine they will actually repeat before the blade goes fully dull.
I have spent sixteen years in kitchens, six of them on a fine dining line and four running a butcher shop, and the sharpening bench was never optional. Cooks who maintained their edges worked faster and complained less about their hands and wrists. Cooks who did not spent half of prep fighting a tomato.
This is an explainer, not a ranking. Below is what each piece of a sharpening setup actually does, four tools that cover the whole job, and how to decide which one you need first.
Related: How to Hone a Knife Without Rounding the Edge →
Quick answer
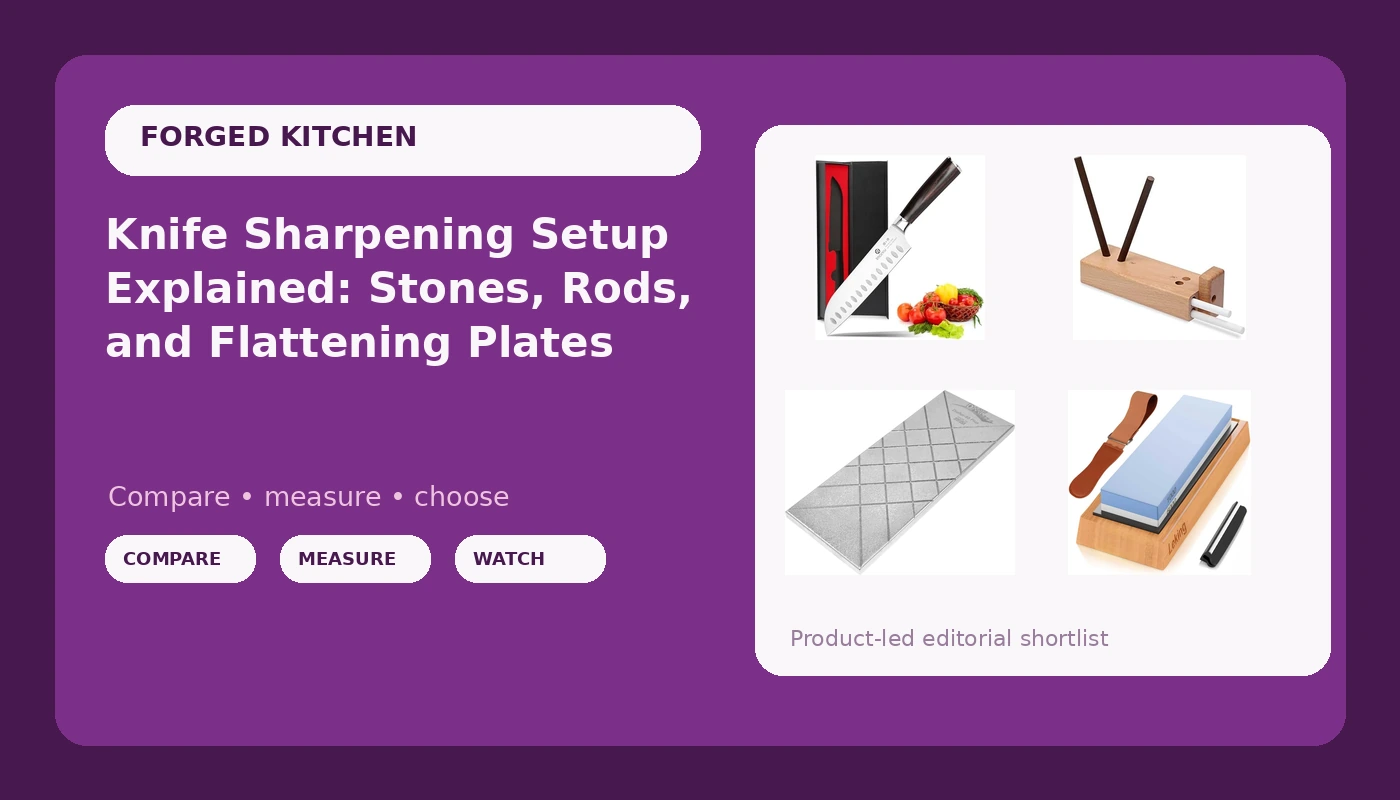
If you are starting from nothing, the sensible order is a dual-sided 1000/6000 grit whetstone first, a diamond lapping plate to keep it flat second, and a ceramic rod sharpener for quick touch-ups between full sharpenings. A 7 inch santoku in Japanese high carbon stainless steel is a reasonable daily blade if you want a knife that rewards that maintenance. None of these tools replaces another. The stone sets the edge, the plate keeps the stone cutting true, and the rod buys you time between sessions.
Four useful options
| Model | Best fit | What stands out |
|---|---|---|
| Knife Sharpener & Sharpening Stone Set: 1000/6000 Grit Dual-Sided Whetstone | Building a sharpening habit from zero | Two grits on one stone, a coarser face for resetting and a finer face for refining |
| imarku Santoku Knife 7 Inch with Sharp Japanese High Carbon Stainless Steel | A vegetable-forward daily cutter | 7 inch santoku profile in Japanese high carbon stainless steel |
| 4-Rod Ceramic Sharpener Box for Kitchen Knives and Cutlery Sharpening Tool | Fast touch-ups between stone sessions | Four ceramic rods in a box format that stores compactly |
| DMT DIAFLAT-95-PLUS Diamond Lapping Plate, 95 Micron Flattening Stone for Water, Oil & Arkansas Stones, 0.0005” Precision Whetstone Flattening Stone with Durable Hardcoat Technology, 10"L x 4"W | Keeping water, oil, and Arkansas stones flat | 95 micron diamond surface on a 10 by 4 inch plate |
The foundation: Knife Sharpener & Sharpening Stone Set: 1000/6000 Grit Dual-Sided Whetstone
A 1000/6000 combination stone is the classic starting point because it covers both jobs a home cook actually has. The 1000 grit face is coarse enough to reset a dulled edge, which means raising a burr along the full length of the blade and then removing it cleanly. The 6000 grit face is fine enough to refine that edge into something that push-cuts paper and glides through an onion instead of cracking it.
What a dual-sided stone does not do is stay flat forever, and it will not rescue a chipped or badly rolled edge on its own. Those jobs want a coarser grit or a professional regrind. It also asks something of you: ten minutes of attention, a sink or a stone holder, and enough patience to hold a consistent angle rather than sawing away at whatever angle feels natural.
If you have only ever used a pull-through sharpener, this is the step that changes what a knife can do. If you already own a full progression of stones, this is a spare rather than an upgrade.
The blade: imarku Santoku Knife 7 Inch with Sharp Japanese High Carbon Stainless Steel
The santoku shape is worth understanding before you buy one. It swaps the curved belly of a Western chef's knife for a flatter edge and a taller blade, which suits the up-and-down chop most home cooks default to. It is a poor choice for hacking through chicken bones or splitting a squash, and a great choice for a pile of onions, a bunch of parsley, or a tray of peppers.
Japanese high carbon stainless steel sits in a middle ground: harder and more wear resistant than the soft steel in bargain stamped knives, still stainless enough that it will not rust the moment you look away. It is not stainless in the sense of being maintenance free. Wipe it dry after use, keep it off the dishwasher rack, and store it where the edge is not resting against other steel.
One honest limitation: the listing does not publish a hardness figure or a bevel angle, and those are the two numbers a sharpener cares about most. Treat them as unknown rather than assuming. Judge a knife like this on how it feels in your hand after two hundred cuts and how predictably it responds to a stone.
The quick-touch tool: 4-Rod Ceramic Sharpener Box for Kitchen Knives and Cutlery Sharpening Tool
This is the piece people confuse with a honing steel, and the distinction matters. A smooth honing steel realigns an edge that has folded over, and it removes essentially no steel. Ceramic rods are abrasive, so they cut a small amount of material and genuinely sharpen, which means they also wear a blade down over time if you lean on them.
Used correctly, a rod sharpener is a bridge. Two or three light passes per side before you start dinner keeps an edge working for another week or two, which stretches the interval between full stone sessions. Used incorrectly, as a substitute for the stone, it rounds the shoulder of the edge and leaves you with a blade that feels sharp for a day and dead the next.
Keep it dry, keep it clean, and remember that rods work best on a blade that is already in decent shape. They are a maintenance tool, not a repair tool.
The maintenance tool: DMT DIAFLAT-95-PLUS Diamond Lapping Plate
This is the least visible purchase in the whole setup, and the one most people skip. Every stone wears unevenly. The middle of the surface sees the most contact, so it hollows out into a shallow dish, and once that happens your blade is riding a curve. You think you are holding a fifteen degree angle, but the stone is quietly grinding a convex edge into the knife.
The fix is to flatten the stone back to true. A diamond lapping plate does that job quickly, and because it works on water stones, oil stones, and Arkansas stones, it stays useful if you change your sharpening medium later. The 95 micron surface is coarse enough to remove material efficiently, and the 10 by 4 inch footprint is wide enough to lap a full size stone in a few passes.
How often you need it depends on how much you sharpen. A home cook sharpening once a week might check the stone monthly; someone working through a pile of knives weekly will flatten more often. The test is simple: lay a straightedge across the stone and hold it up to the light. If you can see a gap under the middle, the stone is dished and needs work.
Prices and availability may change. Product images, names, and retailer links must be matched by verified ASIN. Do not state a current price, rating, stock status, or measured result without current evidence.
How an edge actually forms
Sharpening is abrasion, nothing more mystical than that. Every grit leaves its own pattern of scratches, and the goal is to make those scratches smaller and more uniform until they meet at a point fine enough to sever food. A 1000 grit stone leaves a working edge with visible tooth. A 6000 grit stone polishes those scratches down into something smoother and slicker.
Two things matter more than which stone you own. The first is angle consistency. If you wobble between twelve and twenty degrees across the length of the blade, you never actually finish forming an edge, no matter how long you work at it. The second is the burr. When you grind one side enough, a thin curl of steel forms along the opposite side of the edge. You can feel it with a fingertip dragged across the blade, never along it. That burr is your proof the two bevels have met. Until it forms, you are not sharpening, you are polishing a dull edge.
Removing the burr is the step most home cooks rush. Light, alternating passes at a slightly raised angle, with almost no pressure, fold the burr back and forth until it breaks off. Skip that and the burr folds over on the first onion, and the knife feels dull again within a day.
Harder steel holds an edge longer but resists the stone more, and it chips rather than rolls when you abuse it. Softer steel sharpens quickly and forgives a bad angle, then loses that edge faster. Neither is better in the abstract. They are different maintenance schedules.
Why a flat stone matters more than a fancy one
A dished stone is the quiet failure mode of home sharpening. It does not announce itself. The knife still feels like it is getting sharper, because it is, just along a curve instead of a flat plane. Over months, the edge angle drifts, the bevel becomes convex, and eventually you are sharpening a knife that will never take a clean edge again without a full regrind.
Flattening is not complicated. Soak the stone if it is a water stone, mark a pencil grid on the surface, and lap it against the diamond plate until the grid is gone. That grid is the whole trick: it shows you exactly which parts of the stone are low. A stone that cleans up in four passes was nearly flat. One that takes twenty was badly out of true.
Do that check every few sharpening sessions, or any time the stone feels like it is gliding instead of biting. A flat stone also makes angle consistency easier, because you have a predictable plane to work against rather than a moving target.
The order of operations for a basic session:
- Test the edge first. Try slicing paper or a ripe tomato. If the blade crushes instead of cutting, it needs work.
- Start with the finest grit that will do the job. A weekly touch-up on the 6000 face is a different task from resetting a neglected edge on the 1000 face.
- Match the existing bevel angle rather than inventing a new one, and lock that angle with your off hand or a guide.
- Raise a burr along the whole edge on one side before switching, then remove it with light alternating passes.
- Dry the blade and the stone, and put the knife away somewhere it will not knock against other steel.
What this looks like in a real kitchen
- Sharpen before the knife is truly dull. A few light passes beat an hour of repair every time.
- Check the stone with a straightedge every few sessions, and lap it when it dishes.
- Keep the ceramic rod within arm's reach and use it for seconds, not minutes.
- Never put a good knife in the dishwasher. Heat, detergent, and rattling against other items ruin edges and handles.
- Store daily knives on a magnetic strip or in a blade guard rather than dropping them into a block slot that dulls the edge on insertion.
Which option should you choose?
Choose the Knife Sharpener & Sharpening Stone Set: 1000/6000 Grit Dual-Sided Whetstone when you are building a sharpening habit from zero and want both stages of the routine on one stone. Choose the imarku Santoku Knife 7 Inch with Sharp Japanese High Carbon Stainless Steel when you want a vegetable-forward 7 inch blade to practice that habit on. Choose the 4-Rod Ceramic Sharpener Box for Kitchen Knives and Cutlery Sharpening Tool when you want fast touch-ups between full stone sessions. Choose the DMT DIAFLAT-95-PLUS Diamond Lapping Plate when you already sharpen on water, oil, or Arkansas stones and need them to stay flat enough to cut true.
One caveat applies to all four: none of these listings publish the numbers a sharpener cares about most, such as steel hardness or bevel angle. Judge the knife on how it feels in your hand after real work and how predictably it responds to a stone, and judge the stones by whether they stay flat and cut consistently. Specifications on a page are a starting point, not a verdict.
The bottom line
Sharpness is a maintenance habit, not a purchase. A 1000/6000 dual-sided whetstone, a diamond lapping plate, and a ceramic rod cover the entire loop for a home kitchen, and a 7 inch santoku in Japanese high carbon stainless steel gives you a blade worth maintaining. Buy the stone first, learn to hold a consistent angle, flatten the stone when it dishes, and touch up with the rod between sessions. Everything else in a knife block is garnish.