A dull knife is a confession. The old butcher I apprenticed under said that every time he caught me leaning on a tomato instead of slicing it, and sixteen years later it is still the truest thing anyone has told me about cooking. Learning how to sharpen kitchen knives is not a hobby for gear nerds. It is the one maintenance habit that separates a kitchen that works from a kitchen that fights back.
Most people buy a set, use it hard for a year, decide the knives are cheap, and buy another set. The knives were never the problem. The edge was. Steel does not fail you, neglect does, and no set on the market stays sharp on its own.
Here is the whole job: one set you are not afraid to use, one two-sided stone, and fifteen minutes every few weeks. That is it. Below is the workflow I run on my own blades, plus the two pieces of gear I would hand a home cook who wants to stop buying knives every other year.
Why you should trust me
I have cooked for sixteen years. Six of those were on the line in fine dining, four were behind the counter of a butcher shop breaking down whole animals, and the rest have been spent doing what I do now: prepping, cooking, and sharpening. I have put an edge on thousands of blades, from twenty-dollar stamped knives to four-hundred-dollar Japanese gyutos, and I have never met a knife that stayed sharp without help.
My morning routine has not changed in a decade. Before service, before the first onion, I run my daily knives across a stone and check them on paper. If the blade drags, it gets work. That test is the only reason I trust anything I say about edge retention.
I also have opinions, and I will state them. A set is 80 percent chef's knife, and the rest is garnish. Stamped steel is not a crime, it is just not a knife you hand down to your grandkids. Full tang is non-negotiable in my kitchen, because a bolted handle is a knife that fails you mid-service. And a honing steel is not a sharpener. It realigns an edge, which is a different job, and yes, you need both.
How I picked and how I tested
I do not judge knives by reading a spec sheet. I judge them the way a kitchen uses them, which comes down to three questions.
Does it hold an edge through a full prep shift? Is the handle still comfortable after two hundred cuts? And can I sharpen it on a stone without fighting a bolster that blocks the heel of the blade?
The set below passed those questions for the money it costs. The stone below is the one I keep recommending to home cooks because it does both jobs in a single brick: a coarse side for bringing a neglected edge back, and a finer side for finishing it.
I want to be straight about the limits here. I am not publishing edge-retention numbers, and I am not going to pretend a stamped set competes with a hand-finished Japanese blade. What I can tell you is which gear survives a real prep session and which gear sits in a drawer. That is the whole test.
The gear you actually need
You need two things: a knife that can take an edge, and something to put that edge back. Everything else in a knife block is a bonus or a distraction.
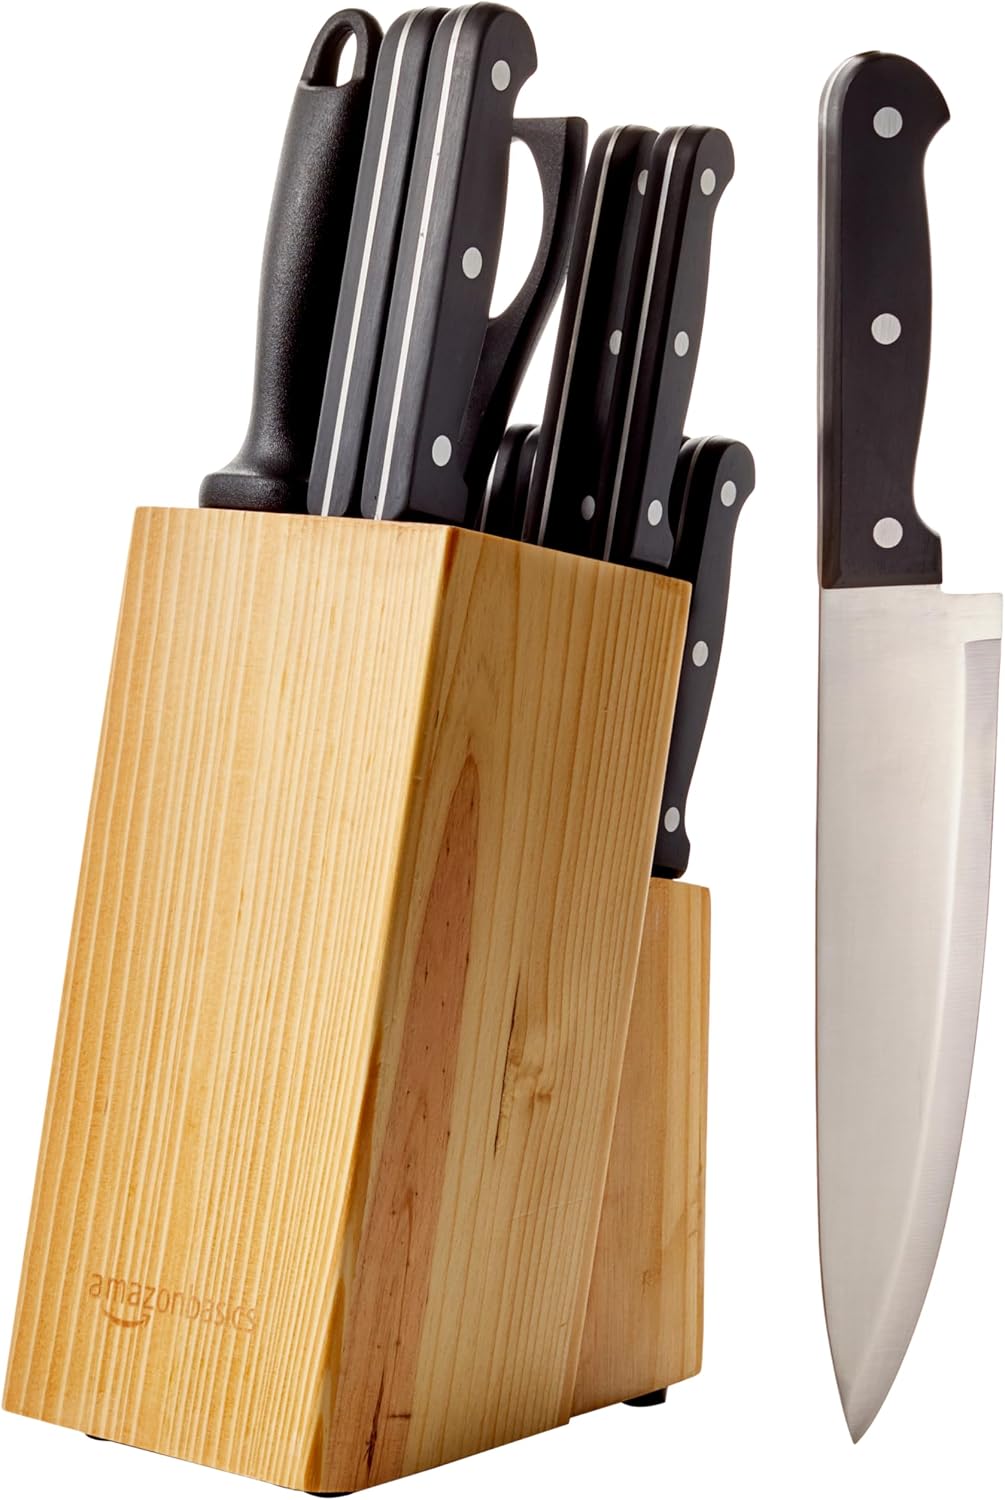
The starter set: Amazon Basics 14-Piece High Carbon Stainless Steel Kitchen Knife Set with Full Tang Construction, Ergonomic Handles, Sharpener and Pinewood Block, Black
 Visit on Amazon →
This is an entry-level set and it should be treated as one, but the boxes that matter are checked. High carbon stainless steel takes an edge without much fuss. The blades are full tang, which means the steel runs the full length of the handle instead of stopping at a bolted-on stub. The handles are shaped for a normal grip rather than a showroom display. Check current Amazon price.
Fourteen pieces means you get a chef's knife, a bread knife, a few utility blades, a pile of steak knives, and a pull-through sharpener in a pinewood block. Be honest with yourself about which of those you will actually use. The chef's knife is the one that matters, and it is the one you should sharpen first and best.
Two caveats. First, the sharpener in the box is a pull-through, and pull-throughs remove a lot of metal fast. Use it in a pinch, not as your routine. Second, the block stores blades edge-down in slots that can knock an edge around if you shove them in. Put the knife in slowly, or skip the block and use a magnetic strip on the wall.
Flaws but not dealbreakers: The steak knives will outnumber your actual need for steak knives, and the bread knife is the weakest blade in the set. Neither one is the knife you bought the set for.
Anyone setting up a first kitchen, a rental, or a cabin wants a set they can use hard without wincing. This is that set.
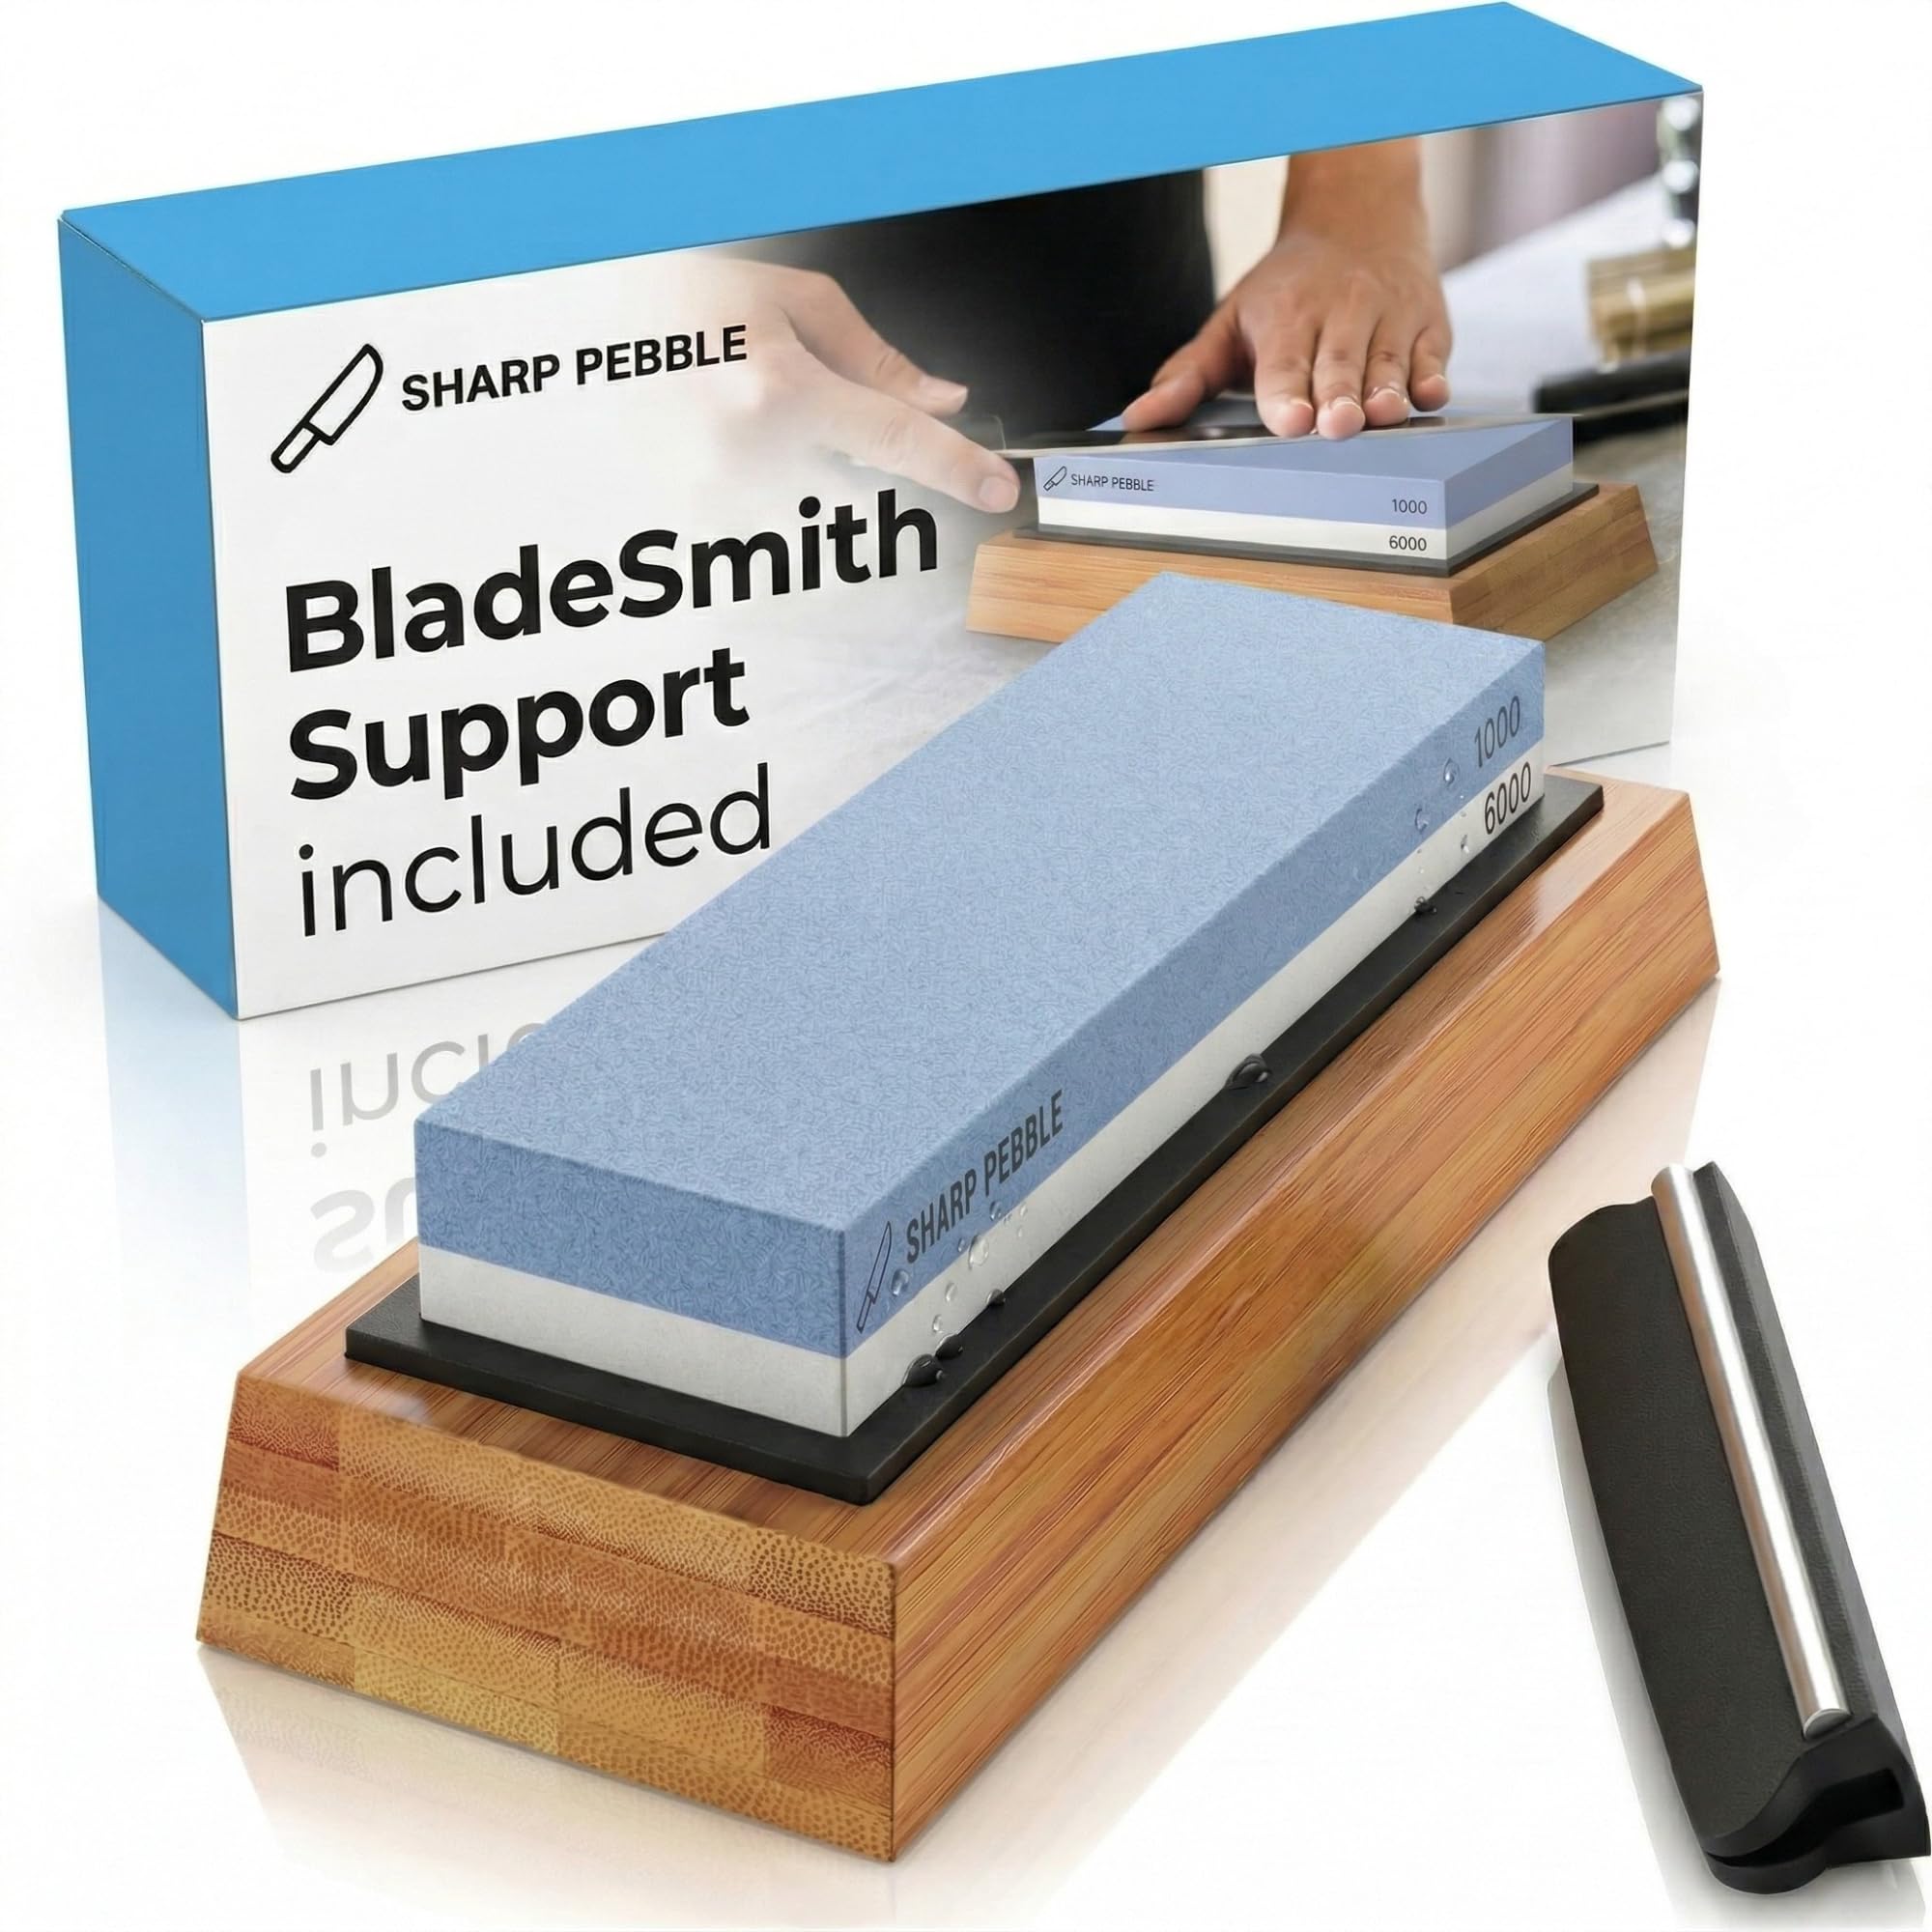
The stone that keeps it working: KEENBEST 400 1000 Premium Material Whetstone Sharpening Stone Set 2 Side Kitchen Knife Sharpener Stone Wet Stones for Sharping Knives Kit Non-slip Rubber Base
 Visit on Amazon →
If you buy one piece of gear from this article, buy this one. A two-sided water stone is the entire difference between a knife you maintain and a knife you replace. The 400 side is your repair grit, the side you go to when a blade has gone truly dull or picked up a nick. The 1000 side is your finishing grit, the one that puts a working kitchen edge on a knife that is already in decent shape. Check current Amazon price.
The non-slip rubber base matters more than people expect. A stone that slides across the counter while you are pushing a blade over it is how people cut themselves, and it is why I will not sharpen on a bare brick. Set it on a damp towel on a stable counter and it stays put.
Flaws but not dealbreakers: It is a water stone, so it needs a soak before use and it needs to dry flat afterward. Leave it sitting in standing water for a week and it will not thank you. Also, no stone stays flat forever. If yours dishes in the middle after a year of work, that is normal, and the fix is a flattening plate or a sheet of wet sandpaper on glass.
Home cooks who own one decent chef's knife and want to keep it for a decade are exactly who this is for.
The sharpening workflow
This is the part that matters. Read it once, then do it. It takes fifteen minutes on a knife that is merely dull and longer on one that has been abused.
Step one: Set up before you touch the blade. Soak the stone in water. Ten minutes is usually enough for a two-sided water stone, and you will know it is ready when it stops absorbing quickly and water sits on the surface. Put a damp towel under it. Fill a cup with water and keep it next to you, because sharpening is a wet job and you will need to add water as you go.
Step two: Find the angle. Lay the blade flat on the stone, then lift the spine until you are at roughly fifteen to twenty degrees, which is about the height of two stacked coins under the spine. That is a working kitchen angle: sharp enough to slice, steep enough to survive a cutting board. Match the factory bevel if you can see it. Consistency beats precision here, so pick an angle you can hold and hold it.
Step three: Start on the coarse side only if you need it. If the knife slices paper with resistance but still cuts, skip the 400 and go straight to the 1000. If it will not bite into a tomato skin at all, or if you can see a nick, start on the 400. Most maintenance sessions never touch the coarse grit, and that is the point. You remove metal only when the edge demands it.
Step four: Push, do not saw. With the blade angled, push the edge forward across the stone as if you are slicing a thin layer off the top of it. Work in sections, heel to tip, and keep the pressure light. Sawing back and forth feels productive and mostly rounds your edge over.
Step five: Raise a burr on the first side. Keep working the first side until you can feel a thin wire of metal curl over the opposite edge. That burr is your proof that you have actually reached the apex of the edge along the whole blade. Run your fingertip across the edge, never along it, and feel for the catch.
Step six: Flip and repeat. Now do the same number of strokes on the other side until you feel the burr flip over to the first side. This is the step people rush, and it is why their knives end up sharp on one side only.
Step seven: Finish on the 1000. Move to the fine side and repeat the same motion with lighter pressure. You are polishing out the scratch pattern from the coarse grit and refining the apex. Ten to fifteen alternating strokes per side is plenty for a kitchen knife.
Step eight: Kill the burr. The burr is now the weak point. Use very light trailing strokes, edge trailing rather than edge leading, alternating sides, to wear it off. Some cooks do this on the stone, some on a leather strop, some on a folded newspaper. Any of them works. A burr left on the edge feels sharp for one dinner and then folds over.
Step nine: Test it and clean up. Slice paper. Then slice a tomato without holding it down. If the blade glides, you are done. Rinse the knife, dry it completely, and let the stone air dry flat.
Keeping the edge between sharpenings
Sharpening is the habit, but three smaller habits keep you away from the stone for longer.
Hone, do not sharpen, before you cook. A honing steel realigns an edge that has rolled over, and it takes twenty seconds. It does not remove metal and it does not restore a truly dull knife, which is the mistake I see most in home kitchens. Use it lightly and often.
Pick a board that does not eat your edge. Glass, ceramic, and stone cutting surfaces are knife killers. End-grain wood and quality plastic are kind to an edge, and one decent board costs less than one decent knife.
Never put a knife in the dishwasher. Heat, detergent, and rattling against other silverware will wreck an edge and a handle faster than anything else in your kitchen.
What this all costs
I am not going to quote you prices that change weekly. Check current Amazon price on both items and do the math yourself, because the math is simple.
A set and a stone is a one-time purchase. After that, sharpening is free forever. Compare that to replacing a dull set every two years, or paying someone else to put an edge on your knives, and the stone pays for itself quickly. The set does the cooking. The stone keeps the set working.
That is the whole job, and there is no mystery in it. Buy a knife you are not afraid to use, buy one stone, and spend fifteen minutes a month keeping the edge honest. A dull knife is a confession. Do not make one.