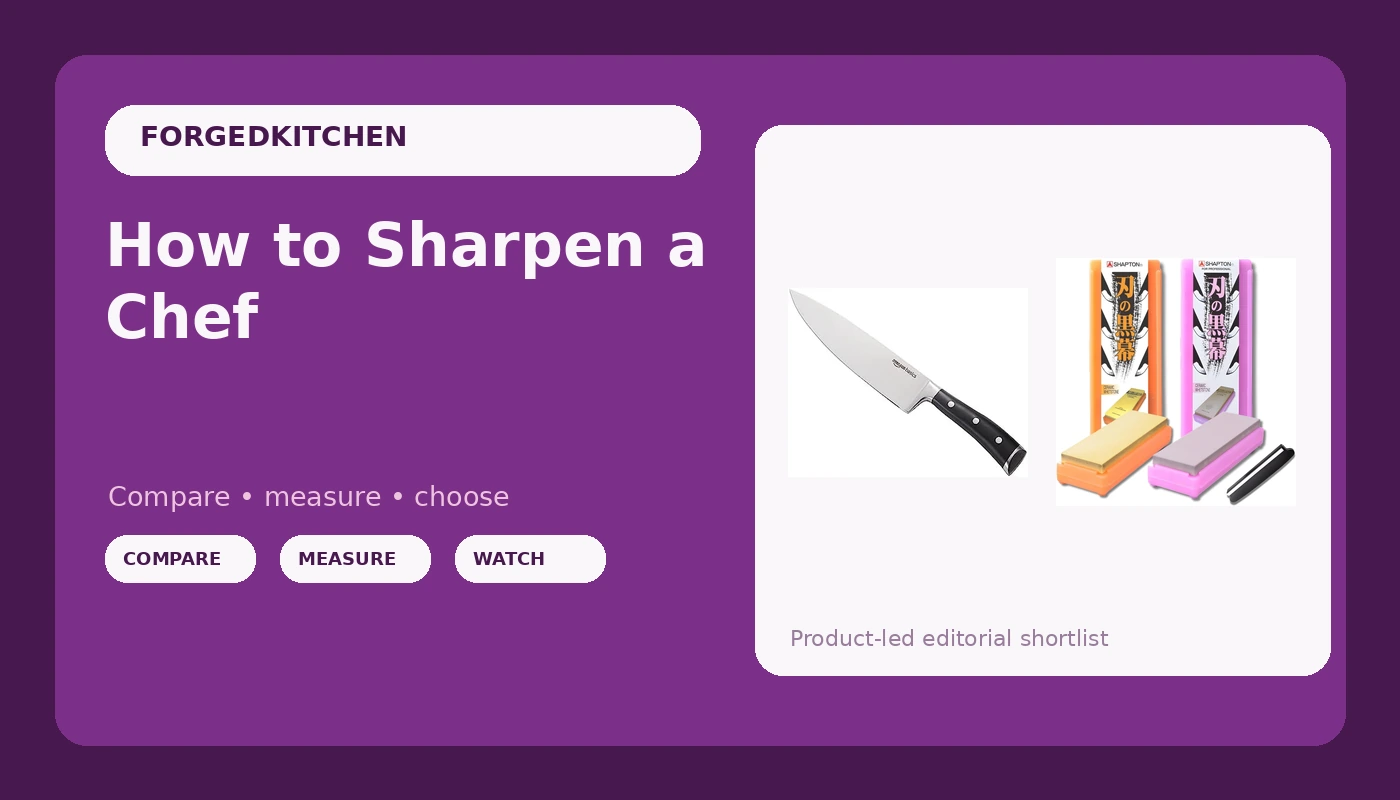
Most people think a dull knife means a bad knife. It doesn't. It means nobody ever showed them how to sharpen a chef's knife on a whetstone, so the blade spent two years getting dragged through a plastic pull-through gadget and now it crushes a tomato instead of slicing it. The steel is fine. The edge is gone.
I've sharpened knives for a living for 16 years, six of them on a fine dining line and four behind a butcher counter. Thousands of blades have crossed my stones, from a stamped $20 beater to a $400 gyuto I've owned for a decade. Here's the part nobody wants to hear: the cheap knife and the expensive knife get sharp the same way, on the same two stones, in the same 20 minutes.
This is that routine. It works on a German chef's knife, a Japanese gyuto, and the stamped blade sitting in your drawer right now. You need one knife and one two-grit stone set. That's the whole shopping list.
Why you should trust me
I spent six years as a line cook in fine dining, where a dull knife during a Friday service is not an inconvenience, it's a crisis. I spent four more running a butcher shop, breaking down whole animals on blades I sharpened myself every morning before open. The sous chef who trained me made me sharpen my own knives for a year before he'd let me touch his, and that year is why I can feel a burr through a folded towel with my eyes closed.
My rule is simple: no knife advice without a sharpening plan. A knife is not a purchase, it's a maintenance habit. You can buy the best blade in the world and it will be useless in three weeks if you never touch it to a stone. You can buy a stamped blade for the price of lunch and it will out-cut a $300 knife if you know what you're doing.
I sharpen on a 1000-grit stone and finish on something finer. I test every edge the same way, every single morning: paper first, then a ripe tomato. If the knife can't shave a clean sheet of newsprint, it doesn't go on the board.
How I picked the blade and the stone
Two criteria decided this guide, and neither of them is brand prestige.
For the blade, I looked for a full tang and a plain edge. Full tang means the steel runs the whole length of the handle, not a stub welded to a hollow shell. That's the difference between a knife and a toy, and it's non-negotiable for me. A bolted or partial-tang handle is a knife that will fail you mid-service, and it usually fails at the worst possible moment. I also wanted a blade that is thin enough behind the edge to actually cut, because a lot of cheap chef's knives are so thick at the spine that they split carrots instead of slicing them.
For the stone, I wanted a two-grit progression in one purchase. You need a coarse stone to set an edge and a fine stone to refine it. A single 1000-grit stone will get a knife sharp, but it leaves a toothy edge that grabs and tears on delicate work. A 5000-grit finishing stone turns that same edge into something that glides through fish and herbs. Buying both together is cheaper than buying them one at a time, and it forces you to learn the progression instead of stopping at "sharp enough."
The other thing I looked for is a stone that doesn't need a 20-minute soak. I've spent too many services waiting on a waterstone. Splash-and-go stones are the only kind I'll recommend to a home cook, because a stone that's annoying to use is a stone that stays in the drawer.
The two things you actually need before you start
You cannot sharpen a knife with a honing steel. A steel realigns a rolled edge, and that's it. If the edge is gone, the steel just polishes a dull blade and makes you think you did something. Get a stone, get a knife you don't mind learning on, and leave the steel for maintenance between sessions.
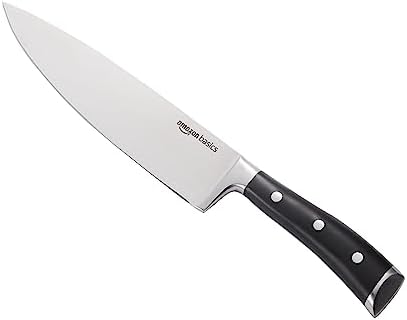
The blade to learn on: Amazon Basics Classic 8-inch Full Tang High Carbon Stainless Steel Chef's Knife
 Visit on Amazon →
This is the knife I hand to someone who has never touched a stone, and there are two reasons for that. First, it's an 8-inch chef's knife with a full tang and three rivets, which is the exact configuration I'd tell you to buy no matter what your budget is. The steel runs the length of the handle, the rivets are set in a way that doesn't rattle, and the blade shape is a standard multipurpose profile, so everything you learn here transfers directly to a knife that costs ten times as much.
Second, it's cheap enough that you will actually use it. That matters more than people admit. A first-time sharpener who is terrified of scratching a $200 blade never develops the feel for the angle, because they never commit to a stroke. High carbon stainless takes an edge without fighting you, and it's forgiving of the slightly inconsistent angle that every beginner has for the first few sessions. Check current Amazon price before you commit, and if you already own a chef's knife with a full tang, sharpen that instead. The technique is the same.
Flaws but not dealbreakers: High carbon stainless is softer than a premium Japanese steel, which means it holds an edge for a shorter window and wants a touch-up more often. For a learning knife, that's a feature. You get more reps per month. The factory edge is also nothing special, so plan on your first sharpening session happening on day one, not month three.
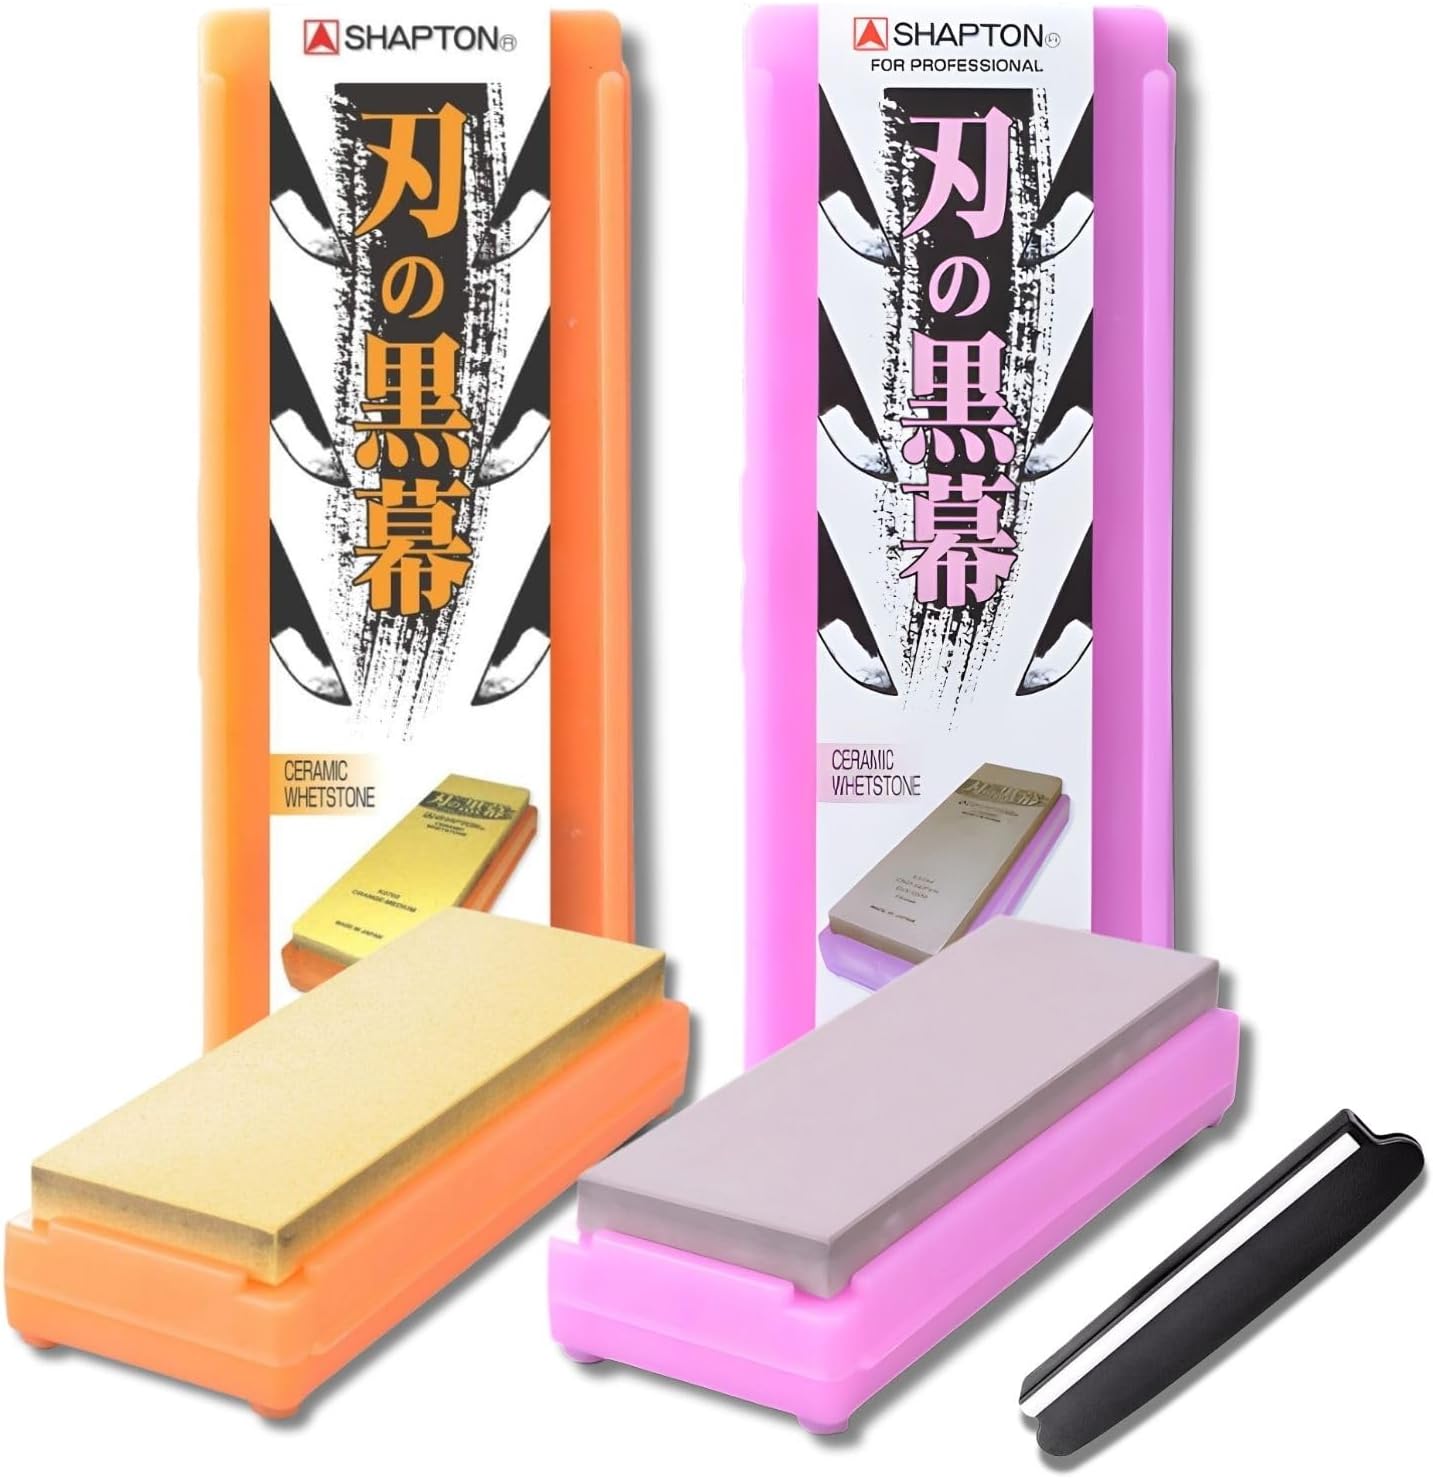
The stone set that does the work: Shapton Kuromaku Whetstone Sharpening Stone Set, Japanese 1000 & 5000 Grit
 Visit on Amazon →
This is the pair I'd build a home sharpening kit around. The 1000 grit is your working stone. It removes metal fast enough to reset a tired edge in a few minutes, and it leaves an edge that's perfectly usable on its own for everyday cooking. The 5000 grit is the refinement stone. It polishes the scratch pattern the 1000 left behind, straightens the apex, and turns a grabby edge into one that falls through a tomato under its own weight.
Shapton Kuromaku stones are hard, slow-wearing, and splash-and-go. You spritz them, wait a minute, and sharpen. No bucket, no soaking schedule, no babysitting. Hard stones also stay flat longer, which matters because a dished stone cannot produce a consistent angle no matter how good your hands are. The included angle guide is genuinely useful for the first few sessions, because it gives you a physical reference for the angle instead of asking you to guess with your wrist. Once you've sharpened a knife five or six times with the guide, you stop needing it, and that's exactly how a training tool should work.
Check current Amazon price on the set. Two stones and a guide is a one-time purchase that outlasts most of the knives you'll use them on.
Flaws but not dealbreakers: Fine stones reward light pressure and punish heavy hands. If you lean into the 5000 grit the way you lean into the 1000, you'll gouge it. Also, no stone stays flat forever, so budget for a flattening plate or a piece of wet sandpaper on glass eventually.
The actual sharpening routine
This is the whole job. Twenty minutes for a badly neglected knife, five to eight minutes once you have the habit.
Step one: pick your angle and commit. Twenty degrees per side for Western stainless like the Amazon Basics blade. Fifteen per side for thinner Japanese steel. Pick one number, and hold it for the entire session. The single most common beginner mistake is changing the angle halfway through, which rounds the edge instead of sharpening it. Use the angle guide until the position feels automatic.
Step two: prep the stone. Splash water on the 1000 grit and give it a minute. If water beads on the surface and sits there, it needs a little more time. If it soaks in and the surface looks matte, you're ready.
Step three: find the burr. This is the entire secret of sharpening, and it's the step everybody skips. Lay the blade flat on the stone, lift the spine until you hit your angle, and push the edge across the stone as if you're slicing a thin layer off the top. Work in three sections: heel, middle, tip. Do six to ten strokes per section. Then feel the far side of the edge with your thumb, moving across the blade, never along it. When you feel a fine wire lip catch on your thumbprint, you've raised a burr. That burr means you have ground all the way to the apex on that side. Until you feel it, you are not done.
Step four: flip and repeat. Same angle, same three sections, until the burr flips to the other side. This is the moment the knife is technically sharp.
Step five: refine on the 5000. Move to the fine stone and use much lighter pressure. Ten to fifteen alternating strokes, edge leading, counting one per side. You are not trying to remove metal here, you're polishing the apex and cleaning up the scratches.
Step six: remove the burr. The wire edge you raised is fragile and it will fold over the first time you hit a cutting board, which is why knives feel dull after one use. Take five or six very light edge-trailing strokes on the 5000, then pull the edge through a piece of cork or soft wood a few times. That snaps the foil off and leaves a clean apex.
Step seven: test it. Newsprint first. A properly finished edge slices a sheet held vertically without tearing it. Then a ripe tomato, skin side down, with no downward pressure beyond the weight of the knife. If it slips on the skin, you have more work on the 1000.
Step eight: maintain, don't re-sharpen. Between sessions, use a honing steel or a ceramic rod with light pressure to realign the edge. That's maintenance, not sharpening. Once a week for a home cook, once a shift for a professional. The moment the steel stops bringing the edge back is the moment you go back to the 1000.
Step nine: store it properly. Magnetic strip or a blade guard, not a knife block. Slots in a block trap moisture and drag the edge every time you pull the knife out, which is a slow, quiet way to dull a good blade.
The alternatives I skip, and why
Pull-through sharpeners with carbide blades take off a lot of metal and leave a ragged edge. They work for about a month and then your knife is a paring knife. Skip them.
Electric sharpeners are faster, but most of them grind at a fixed angle that doesn't match your blade, and they remove material at a rate that shortens a knife's life by years. If you're sharpening a $15 beater for a cabin, fine. Not for anything you care about.
A honing steel is not a sharpener. It realigns. It does not remove metal, so it cannot restore an apex that's worn away. You need both a steel and a stone, and confusing the two is why so many people think their knife "won't take an edge anymore."
Serrated bread knives stay out of this routine. Sharpening serrations requires a tapered rod and a lot of patience, and most serrated knives in cheap sets can't slice bread anyway.
What this all costs
Here's the honest math. The blade is the cheap part. The stone set is the real investment, and it's a one-time one. Stones wear, but a hard Japanese stone sharpened on once a week lasts years, which means the cost per sharpening rounds down to nearly nothing. Compare that to paying a shop to sharpen your knives, or replacing a knife every year because you never learned to maintain it.
The time cost is where people quit. Twenty minutes the first time, then five to eight once the motion is in your hands. That's less time than you spend waiting for water to boil in a given week.
You need one chef's knife with a full tang, one 1000-grit stone, one 5000-grit stone, and a habit. That's the whole kit. Everything else in the knife aisle is garnish.
A dull knife is a confession, and the fix is not a new knife. It's 20 minutes on a stone, every few weeks, for the rest of your life. Start with the blade you already own and the 1000 grit. Feel the burr once and you'll never go back to a pull-through gadget again.