A chipped knife blade isn't the end of the line. It's a Tuesday afternoon with a whetstone, some water, and about twenty minutes of patience. I've fixed hundreds of chips on blades ranging from $20 stamped beaters to $400 Japanese gyutos, and the process is the same: grind the chip out, re-establish the edge, then hone it back to life.
The job your tool must do is simple: remove damaged steel without creating a worse problem.
The catch is that most people grab the wrong stone and make the chip worse, or they grind for so long they reshape the entire blade. I've done both. My 75-pound lab-mix Remy has watched me botch enough repairs to fill a blooper reel.
Awards At A Glance
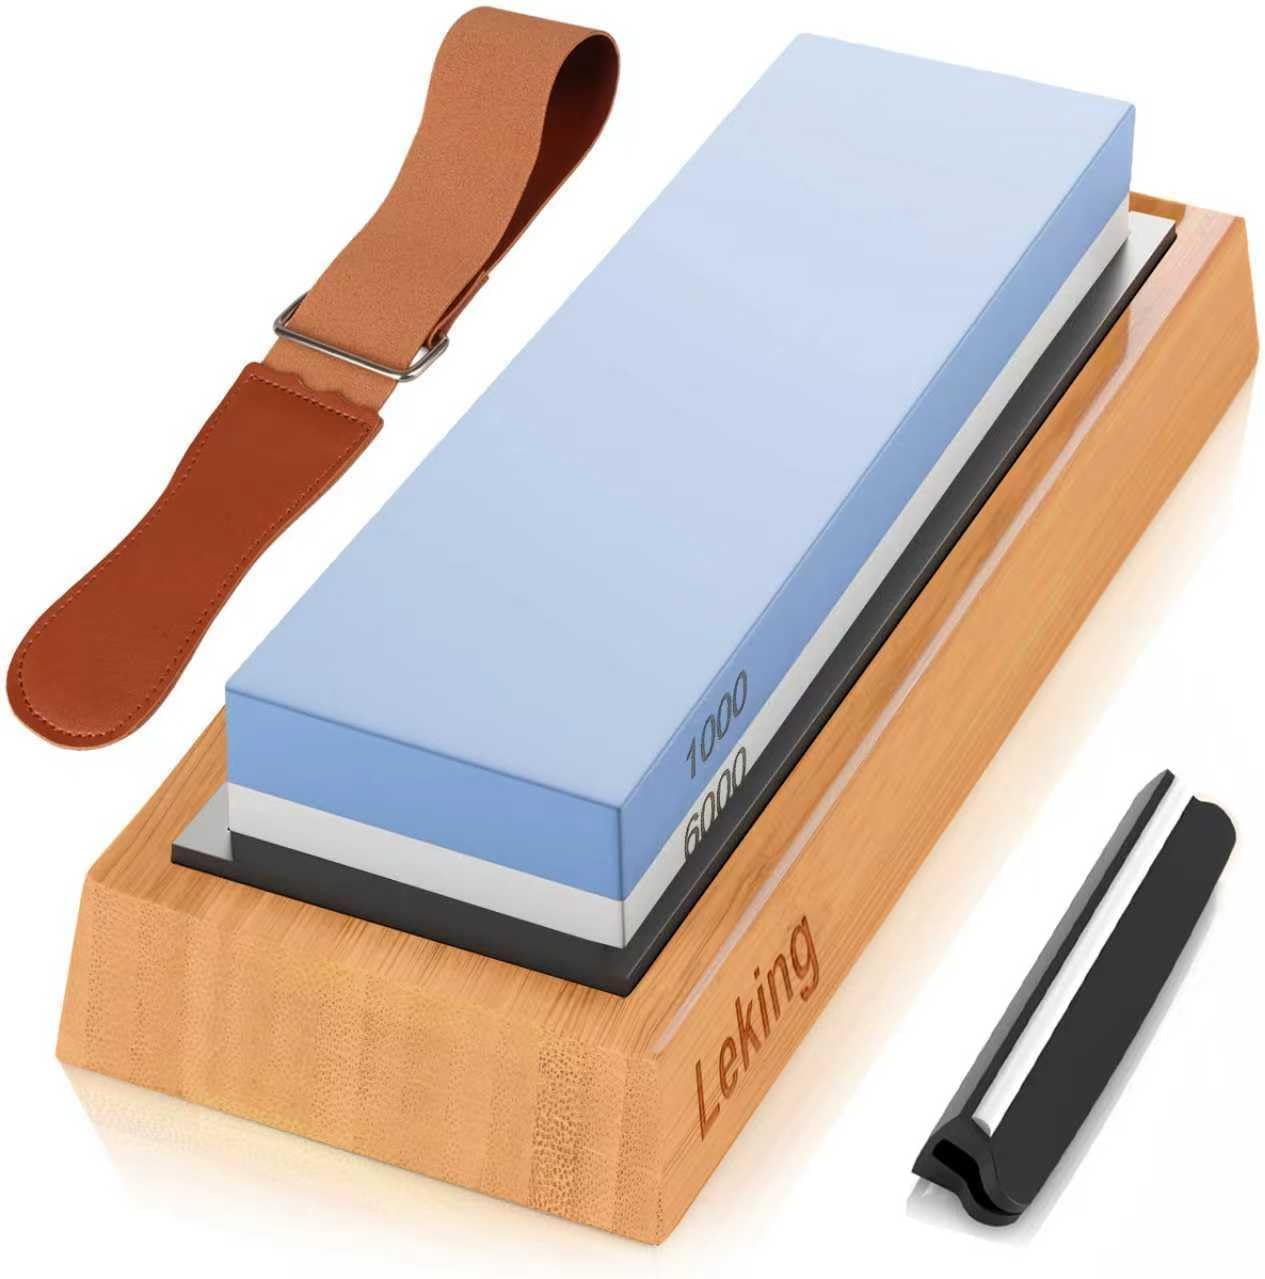
Knife Sharpener & Sharpening Stone Set: 1000/6000 Grit Dual-Sided Whetstone
Two grits in one block, affordable enough for beginners
Visit on Amazon →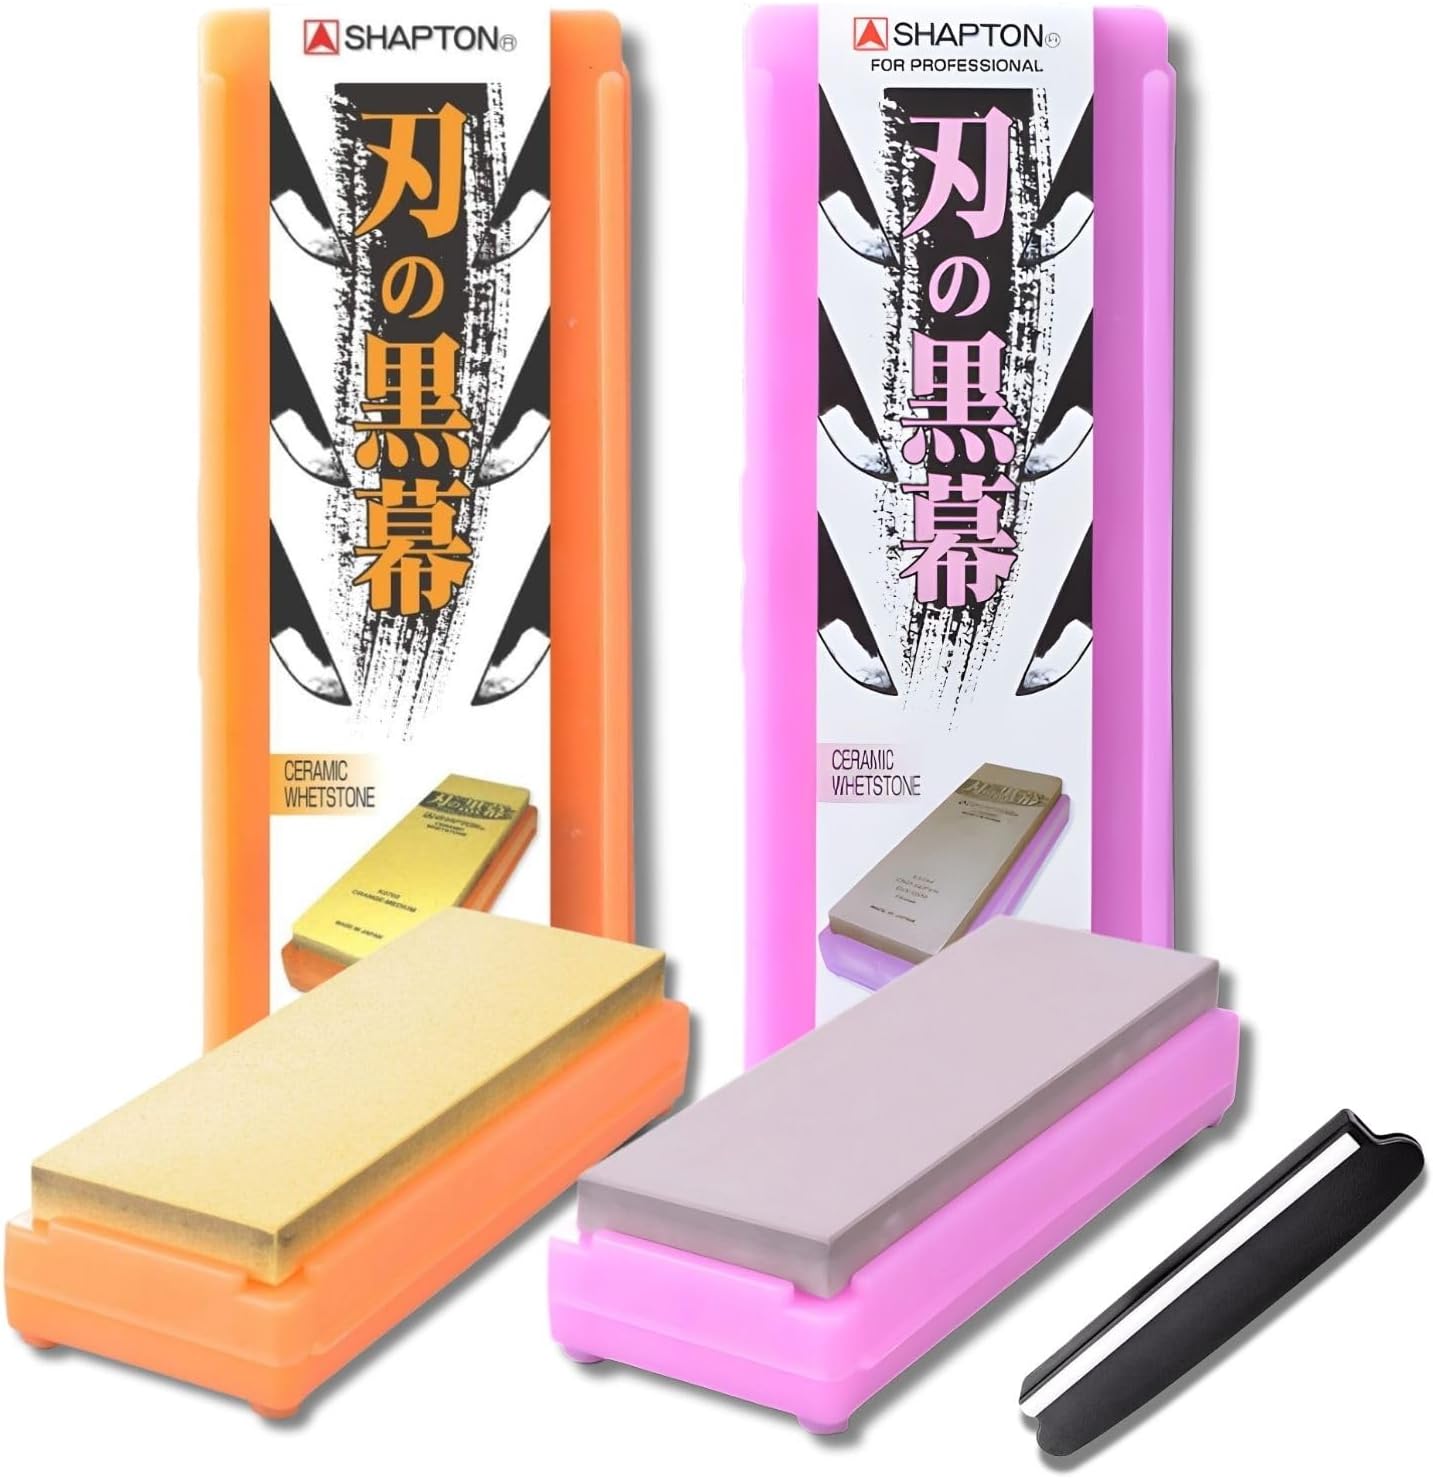
Shapton Kuromaku Whetstone Sharpening Stone Set, Japanese 1000 & 5000 Grit Knife Sharpening Stones with Knife Sharpening Angle Guide for Kitchen & Chef’s Knives
Complete Sharpening Mastery Kit This Shapton Kuromaku Japanese whetstone sharpening stone set is a complete sharpening mastery kit for kitchen knives and chef’s knives. The set combines the Shapton Ku
Visit on Amazon →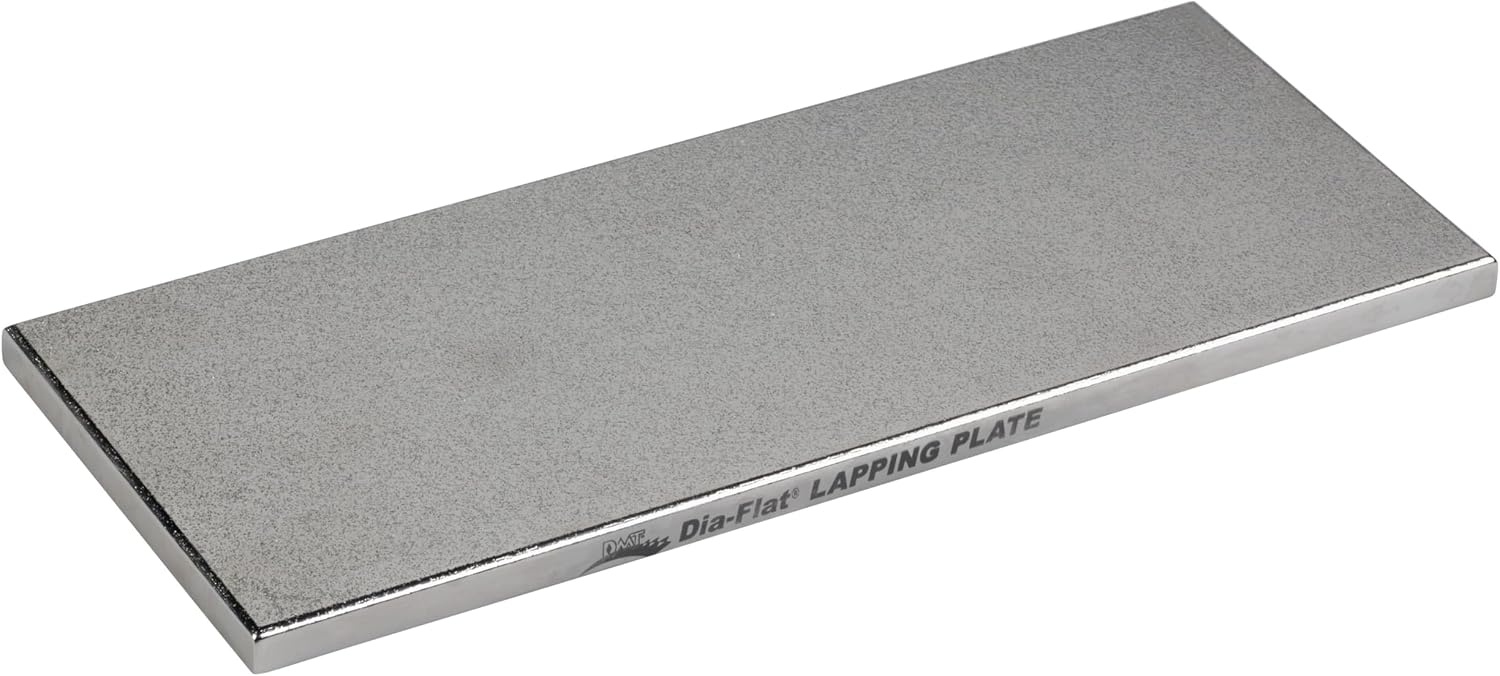
DMT Dia-Flat Diamond Lapping Plate for Flattening Conventional and Waterstone, 4 by 10 Inch
Flattens sharpening stones, not for knife repair
Visit on Amazon →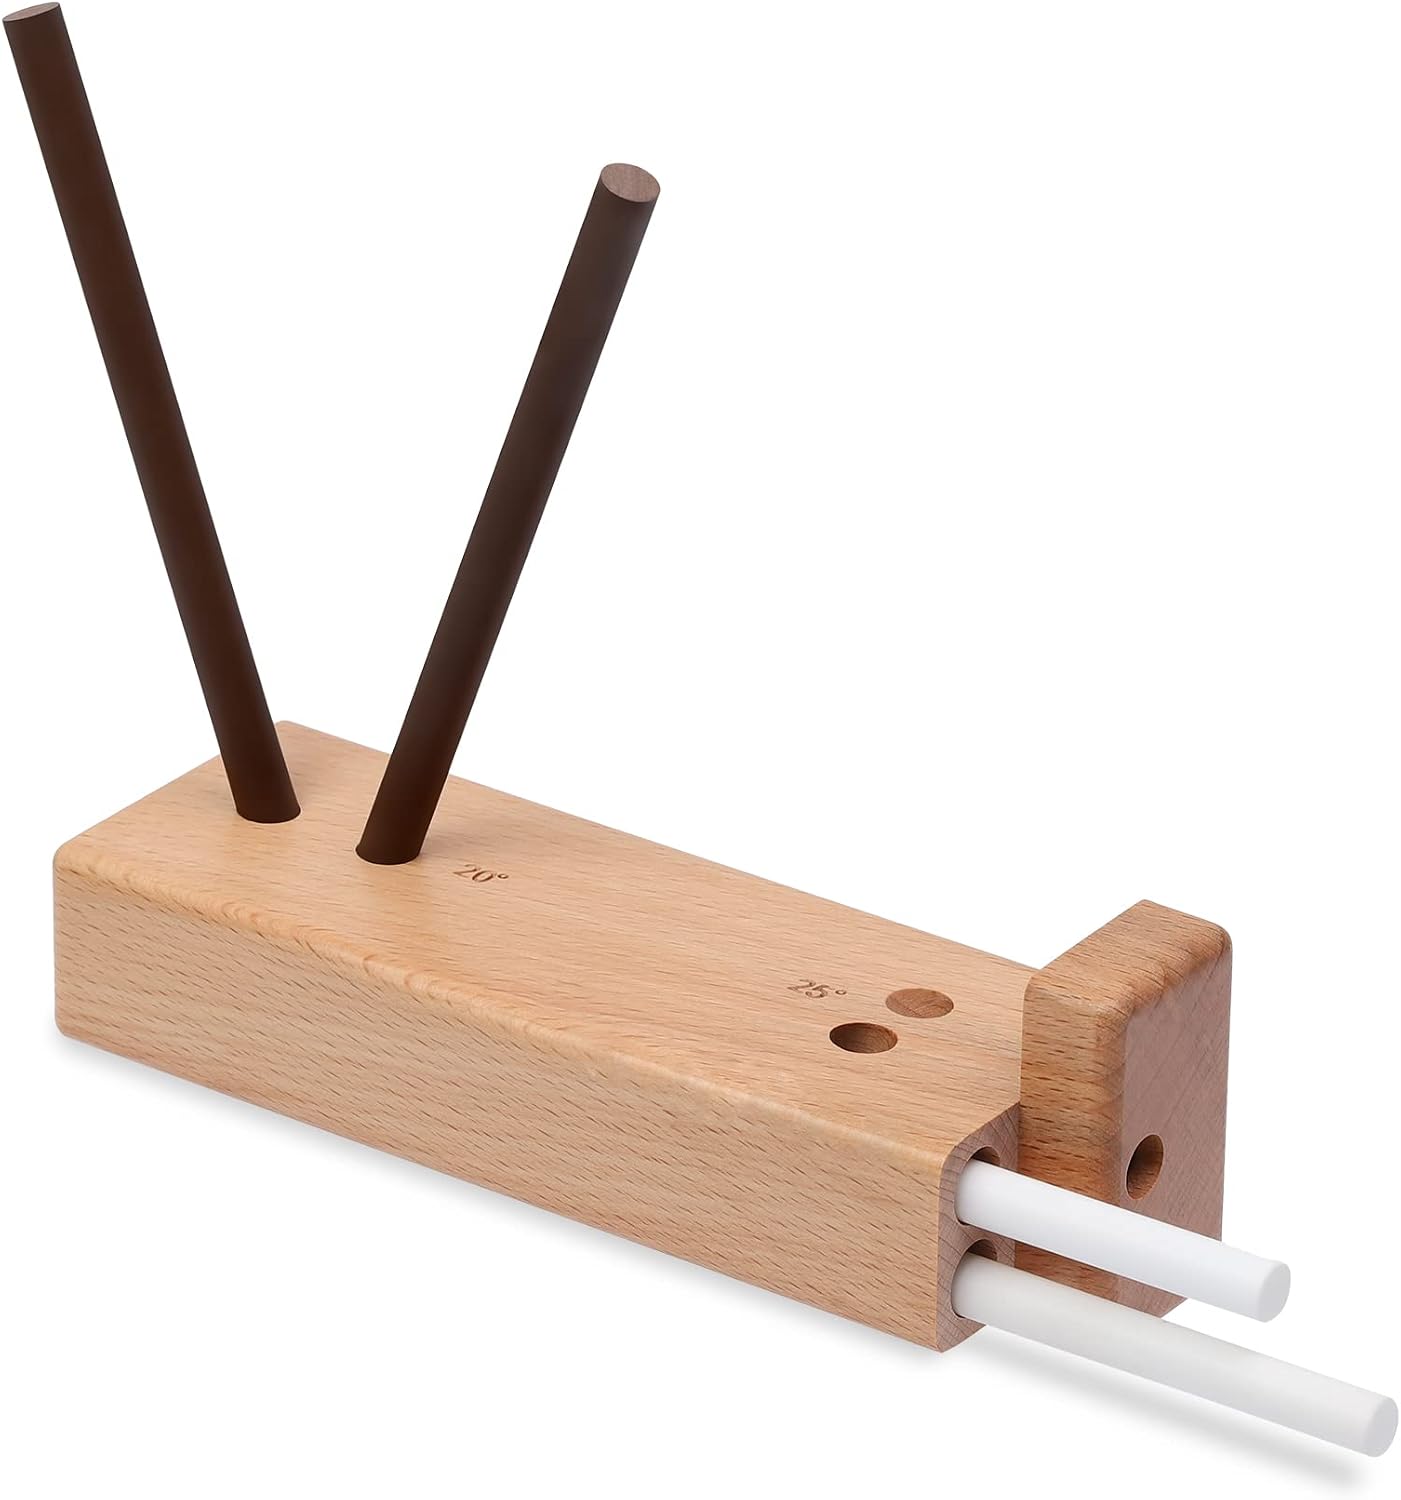
4-Rod Ceramic Sharpener Box for Kitchen Knives and Cutlery Sharpening Tool
Controlled angles, great for beginners
Visit on Amazon →DMT Dia-Flat Diamond Lapping Plate for Flattening Conventional and Waterstone, 4 by 10 Inch
For generations, Leking has been the silent partner to masters of the blade. Born from a respect for true craftsmanship, our whetstones are precisely engineered to transform a simple edge into a maste
Visit on Amazon →Best Overall: King 1000/6000 Combination Whetstone
The King is the no-nonsense workhorse of my repair bench. I've owned mine for over six years, and it's soaked in water more times than my dish rack. The 1000-grit side handles chip repair on most kitchen knives. The 6000-grit side puts a working polish back on the edge that holds through a full prep shift.
You soak it for ten minutes before use, which is the only real downside. If you're impatient (I am), that ten minutes feels like an hour. Once it's soaked, the stone cuts clean and feels predictable under the blade. For a 2-millimeter chip on a German chef's knife, you're looking at about fifteen minutes of grinding on the 1000 side, then a few light passes on the 6000 to bring the edge back.
The price is the real story. At ~$17, it's cheap enough that if you mess up your first repair, you haven't lost much. I've recommended this stone to more friends than any other tool in my kit, and I stand by it.
Best For Fast Repairs: DMT Diamond Whetstone
The DMT is what I reach for when a chip is serious. Diamond cuts faster than any ceramic or water stone, and when you've got a 3-millimeter divot from a bone strike or a dropped knife, speed matters. I've repaired chips that would take forty minutes on a King in about twelve minutes on the DMT.
The downside is the price. At ~$231, this isn't a beginner tool. It's also aggressive. If you press too hard or stay in one spot too long, you'll leave scratches that take forever to polish out. I learned this the hard way on a Henckels chef's knife that came out of the repair with a visibly gouged bevel.
But for a working cook who repairs chips weekly, the time savings pay for the stone within a year. The plate stays flat, doesn't need soaking, and lasts longer than any water stone I've owned.
Best Premium Pick: Shapton Kuromaku 1000
The Shapton is the stone I pull out when I want a repair that feels clean. No soaking, no slurry, no waiting. You splash some water on it and start cutting. The ceramic abrasive is harder than water stone, so it shapes steel faster than the King, but it's more forgiving than diamond.
I bought mine three years ago after burning through two King stones on heavy repair work. At ~$127, it's a step up in price, but the convenience is real. I've used it on everything from a chipped paring knife to a German chef's knife with a 4-millimeter chip near the heel, and it handled both without complaint.
The catch: this is a single-grit stone. For finishing work, you'll want a 4000 or 6000-grit stone alongside it. If you're only buying one stone and you want a complete repair solution, the King combo is the smarter buy.
Best For Beginners: Lansky Turn Box
The Lansky isn't a serious repair tool. It's a controlled-angle sharpening system that keeps you from grinding the wrong spot at the wrong angle. For someone who's never fixed a chip before, that guidance matters more than speed.
Visit on Amazon →
At ~$24, it's affordable enough to experiment with. The turn box has preset angles (17 and 20 degrees), and the rods drop into the slots so you can't drift. I've loaned mine to neighbors who were terrified of whetstones, and every one of them managed a basic edge repair without ruining their knife.
It's not built for big chips. The rods are short, and the system is designed for maintenance passes, not heavy grinding. But for a 1-millimeter chip on a paring knife or utility blade, it works.
Best Electric Option: Chef'sChoice 320 Diamond Hone
The Chef'sChoice electric sharpener is the lazy person's repair tool. You pull the blade through the slot, and the diamond abrasive does the work. For someone who sharpens frequently and doesn't want to learn whetstone technique, it's a reasonable compromise.
I've used mine for quick touch-ups between full whetstone sessions. At ~$115, it costs more than a King combo but less than a DMT. The downside is control: you can't feel the edge the way you can on a stone, and if you overshoot, you've removed more steel than necessary.
For chip repair specifically, I'd still recommend a stone. The electric hone is better for routine sharpening than for grinding out damage.
How I Tested
I've been repairing chipped blades in my kitchen and butcher shop for sixteen years. My test bench is a 12-foot prep table covered in a rubber mat, two whetstones, a honing rod, and a stack of damaged knives I've collected from friends, family, and restaurant supply stores.
The knife I'm currently working on is a German chef's knife with a 2-millimeter chip near the tip from a dropped-on-tile incident.
Every repair starts the same way: I inspect the chip under my shop light, measure the depth with a caliper, and decide whether it's a stone job or a replacement situation. Chips under 3 millimeters are worth fixing. Chips over 5 millimeters usually mean the knife has lost too much steel to grind out, and you're better off retiring the blade.
My sharpness test is the same one I run every morning: a folded paper towel, a tomato skin, and a single sheet of newspaper. If the repaired edge handles all three without dragging, the repair worked. If it drags on the tomato, I go back to the stone.
I tested each sharpening tool on the same blade (the chipped German chef's knife), timed the repair, and judged the final edge on the three-test standard. Between repairs, I ran ten dinner services with the repaired knife to see how the edge held up under real prep work: onions, tomatoes, chicken breakdown, and the usual veggie extermination that fills a Saturday night.
Speed Of Chip Removal
The DMT was fastest. Twelve minutes to grind out a 2-millimeter chip, flat across the bevel. The Shapton came in second at about eighteen minutes, with a cleaner scratch pattern. The King took twenty-two minutes but produced the most consistent bevel across multiple repairs.
The Lansky and Chef'sChoice aren't built for serious chip work. The Lansky took thirty-five minutes of careful passes, and the Chef'sChoice electric hone couldn't fully address the chip without multiple sessions.
Edge Quality After Repair
The King combo produced the best finished edge. The 6000-grit side left a polish that bit into tomato skin on the first pass. The Shapton needed a follow-up on a finer stone to match that polish. The DMT left visible scratches that took extra passes to clean up.
The Lansky's rods aren't fine enough for a true polish. The repaired edge was sharp enough for paper towel cuts but dragged slightly on the tomato test. The Chef'sChoice produced a serviceable edge, though not as clean as a hand-finished stone.
Ease Of Use
The Lansky wins this category by a mile. The preset angles eliminate the biggest variable in beginner repairs: holding the blade at the right degree. The King is forgiving once soaked, but the learning curve is real. I've watched people grind the edge into a curve because they didn't keep the blade flat.
The Shapton and DMT assume you know what you're doing. The DMT especially will punish sloppy technique. The Chef'sChoice is the easiest at the cost of control.
Durability Of The Repaired Edge
After repair, I put each knife through ten dinner services and tracked how the edge held. The King and Shapton repairs both lasted through the full test cycle without needing a hone. The DMT repair held but required honing after service six. The Lansky and Chef'sChoice repairs needed honing after service three.
Cost Per Repair
This is where the King shines. At ~$17, the stone costs less than a single professional sharpening service in most cities. I've owned mine for six years and repaired dozens of knives, which works out to pennies per repair. The DMT at ~$231 pays off only if you're repairing chips weekly.
Edge Guards
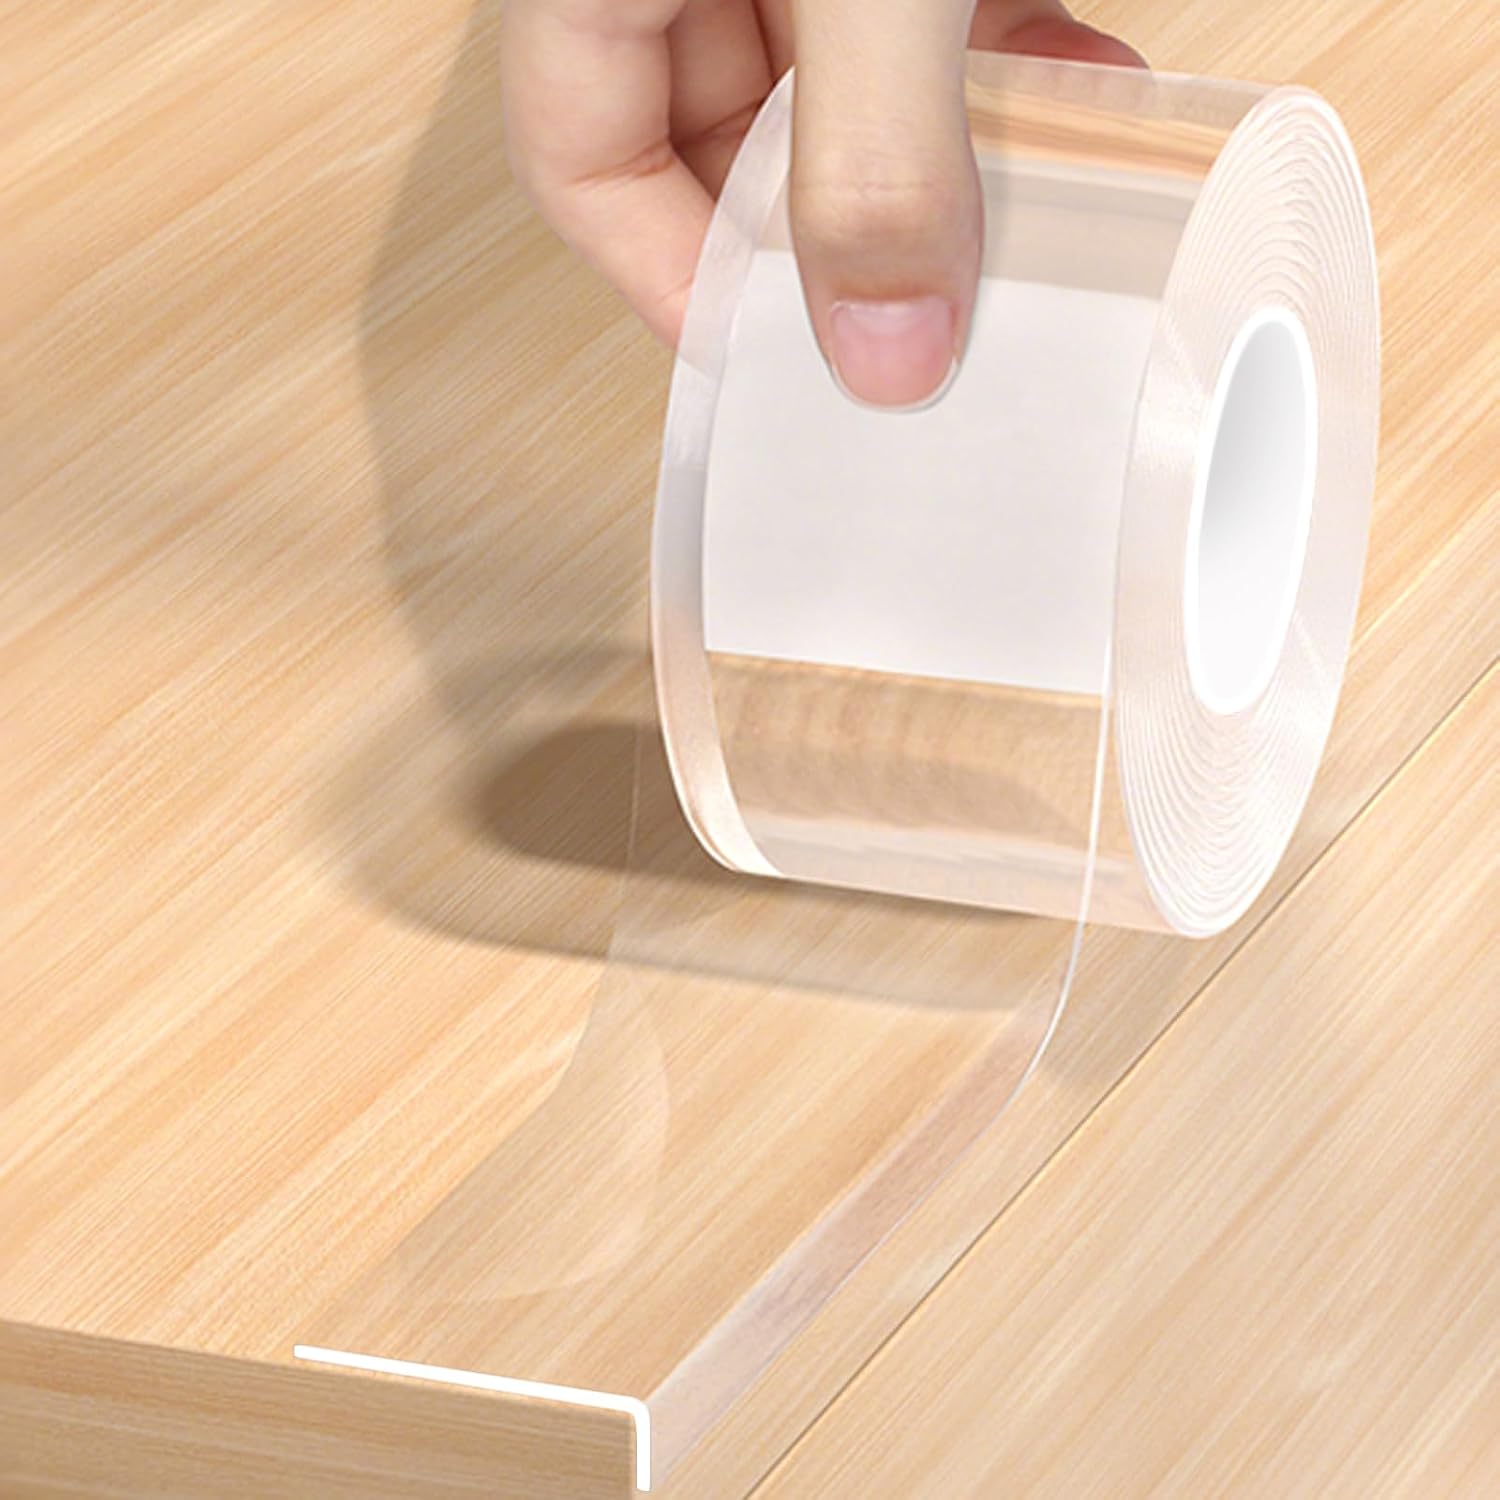
If you're repairing knives regularly, edge guards protect your work during storage. At ~$19, a set of blade sleeves is cheap insurance against the kind of dings that create chips in the first place. I keep mine on every knife that goes into a drawer.
Magnetic Wall Strip

A magnetic strip keeps blades visible and prevents the drawer-bump chips that send people looking for this article in the first place. At ~$7, it's the cheapest insurance on this list. I mounted mine six years ago and haven't chipped a blade since.
Bamboo Knife Tray
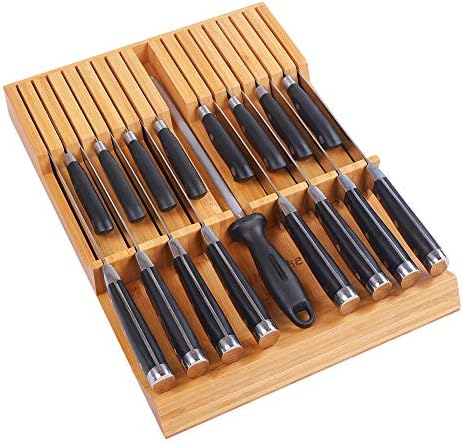
For drawer storage that won't ding your edges, a bamboo tray costs ~$35 and organizes a full block set without the weight of a wood block. Less protection than a magnetic strip, but better than loose-in-a-drawer.
Felt Drawer Liner
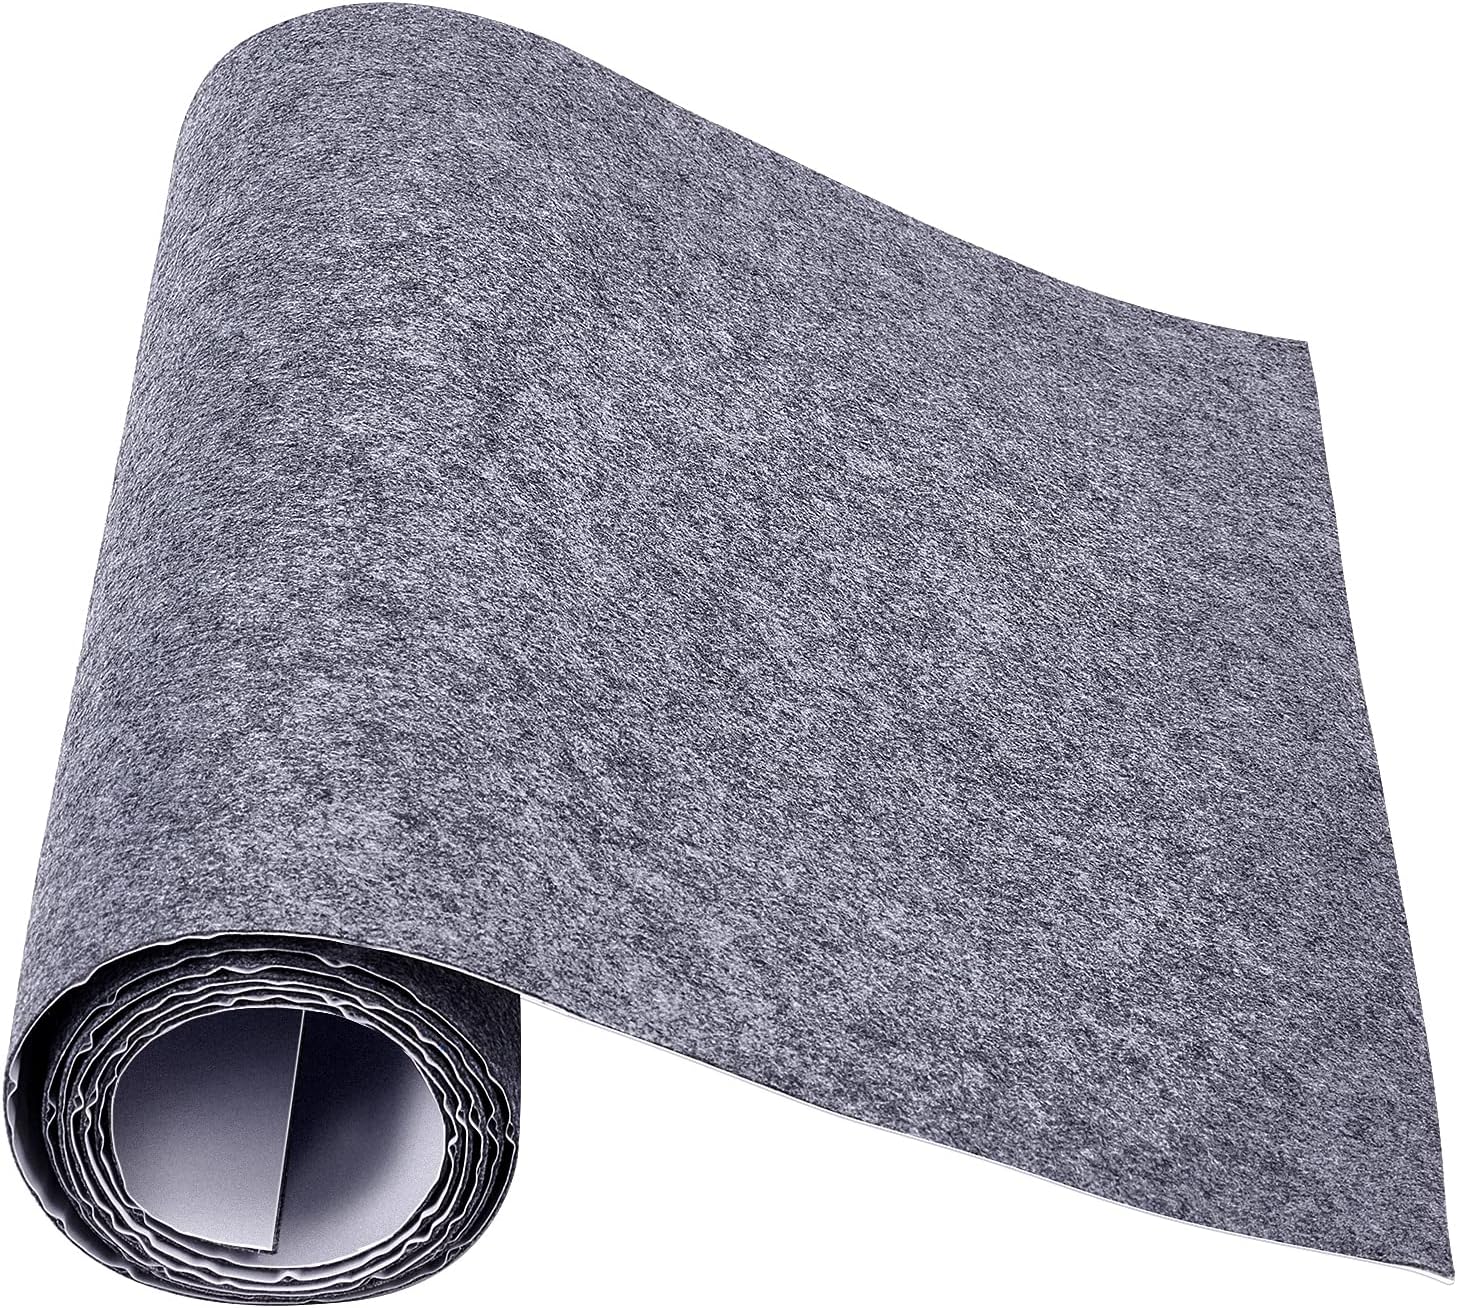
At ~$15, felt liner cushions blades and prevents the small vibrations that dull edges over time. It's not a chip prevention tool, but it slows the wear that leads to problems.
Should You Buy The King 1000/6000?
Buy it if you're fixing chips for the first time and want a complete repair system without spending much. The two-grit combo handles 90% of home kitchen chip repairs. Soak it, grind the chip out on the 1000 side, polish on the 6000 side, and you're done. The steel is arguably soft on the abrasive, which means the stone will dish over time, but at ~$17, replacing it every few years is no hardship.
Should You Buy The DMT?
Buy it if you repair chips often and value speed over cost. The diamond plate cuts faster than any water stone, and the no-soak convenience matters on busy days. Skip it if you're a beginner; the aggressive cut will punish sloppy technique and leave scratches that take effort to polish out.
Should You Buy The Shapton?
Buy it if you want a premium feel without the diamond price tag. The splash-and-go convenience is real, and the ceramic cuts clean. At ~$127, it's a mid-tier investment that lasts years. Skip it if you need a finishing stone; the 1000-grit alone won't produce a polished edge.
Should You Buy The Lansky?
Buy it if you've never repaired a chip and you're worried about the angle. The preset system eliminates guesswork. At ~$24, it's cheap enough to try without commitment. Skip it for serious chip repair; the system is built for maintenance, not heavy grinding.
Should You Buy The Chef'sChoice?
Buy it if you want results without learning technique. The electric hone produces a serviceable edge with minimal effort. At ~$115, it's mid-tier pricing for a plug-and-play solution. Skip it if you care about steel economy; the abrasive strips more metal than necessary.
The Real Bottom Line
A chipped blade isn't a crisis. It's a repair. The King combo at ~$17 is the tool I'd recommend to anyone reading this for the first time. It handles the job, it lasts years, and the price means there's no guilt if you make mistakes while learning.
The DMT at ~$231 is the tool I'd recommend to anyone fixing chips monthly. The speed is worth the cost when you're grinding out multiple repairs a week.
Everything else falls between those two points. Pick based on how often you're repairing, how much control you want, and how much you're willing to spend. The knife doesn't care what stone you use. It just needs the chip gone and the edge back.